
Bringing in your students
You already keep your students somewhere. Bring the whole list in at once from that spreadsheet, rather than typing them one by one. Owners, admins and anyone whose role has Manage access to Students can import students.
Before you start
Section titled “Before you start”- The file is a CSV or an Excel file (.xlsx). Tuevia reads its first sheet.
- The first row holds the column headers, and every row after it is one student.
- Every student needs a first and a last name: in a column each, or together in one column that holds the whole name. An email address is not required.
Import the spreadsheet
Section titled “Import the spreadsheet”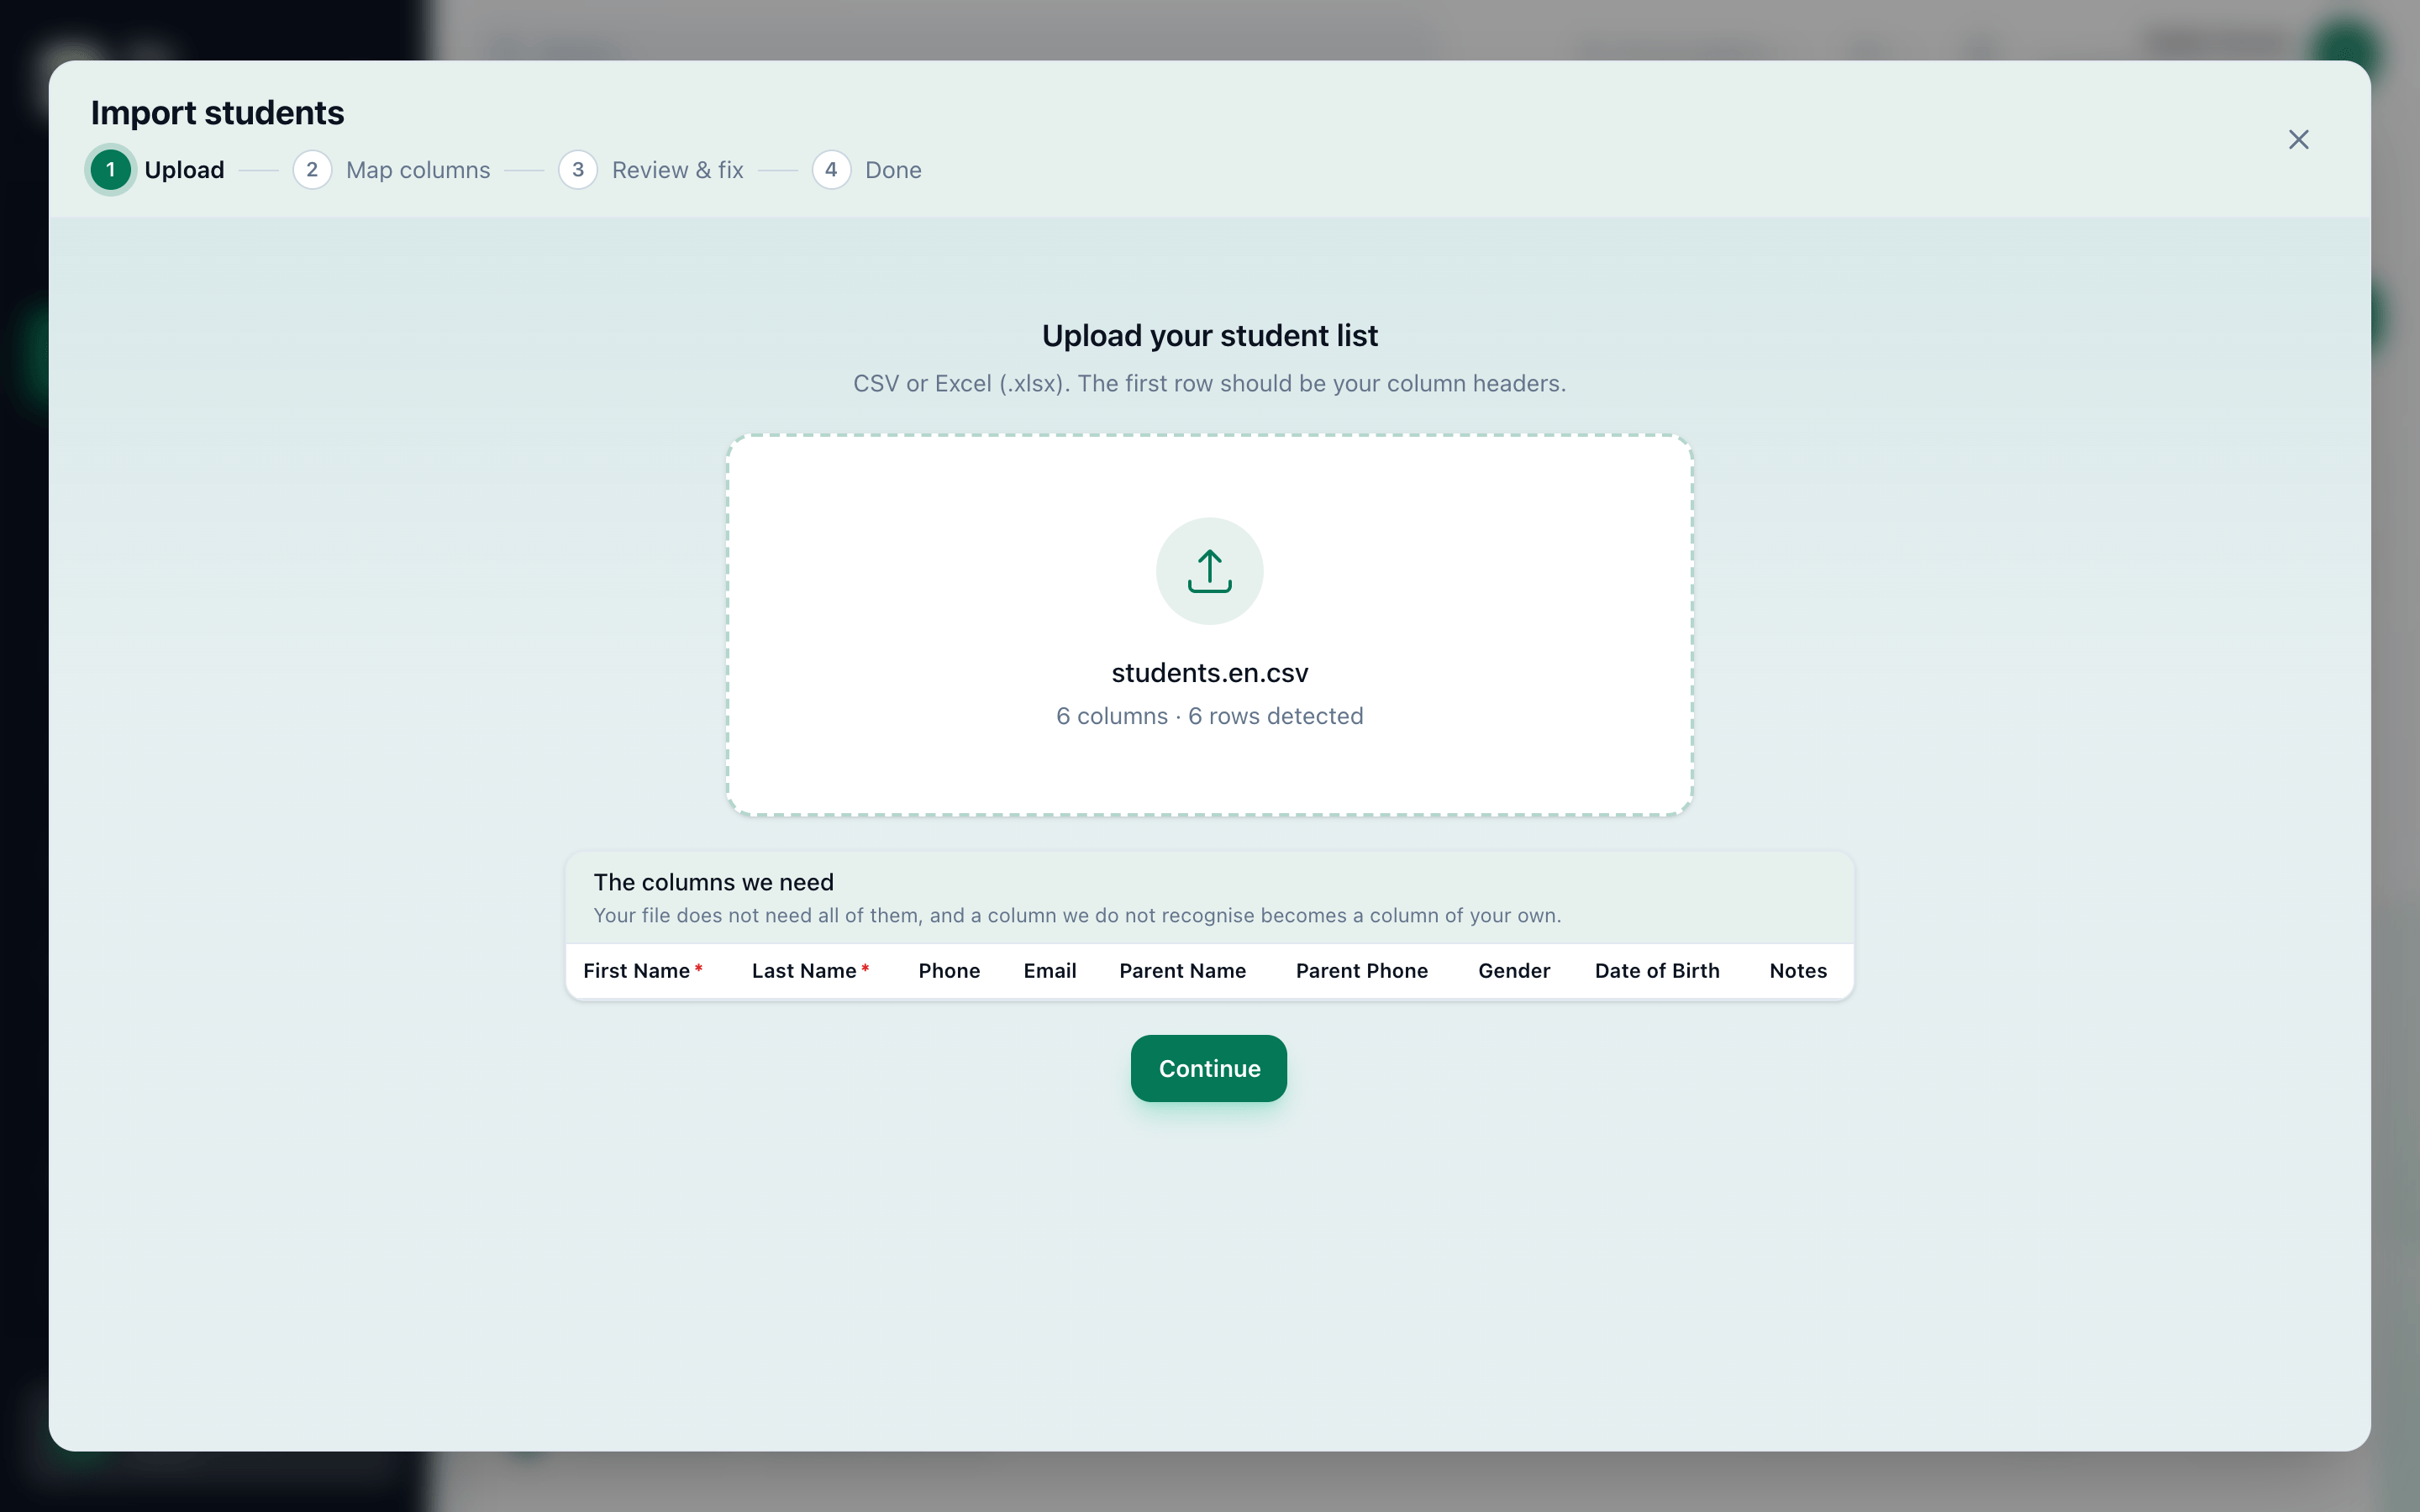
- Choose the file
- Continue
- A cell to fix
- Skip rows that need fixing
- Import
-
On Teaching → Students, press Import.
-
Click the box that says Click to choose a file, and choose your spreadsheet.
-
Press Continue.
-
Check what each of your columns Imports as, and change anything that is wrong. A column Tuevia has no match for becomes a new column of your own.
-
Press Continue.
-
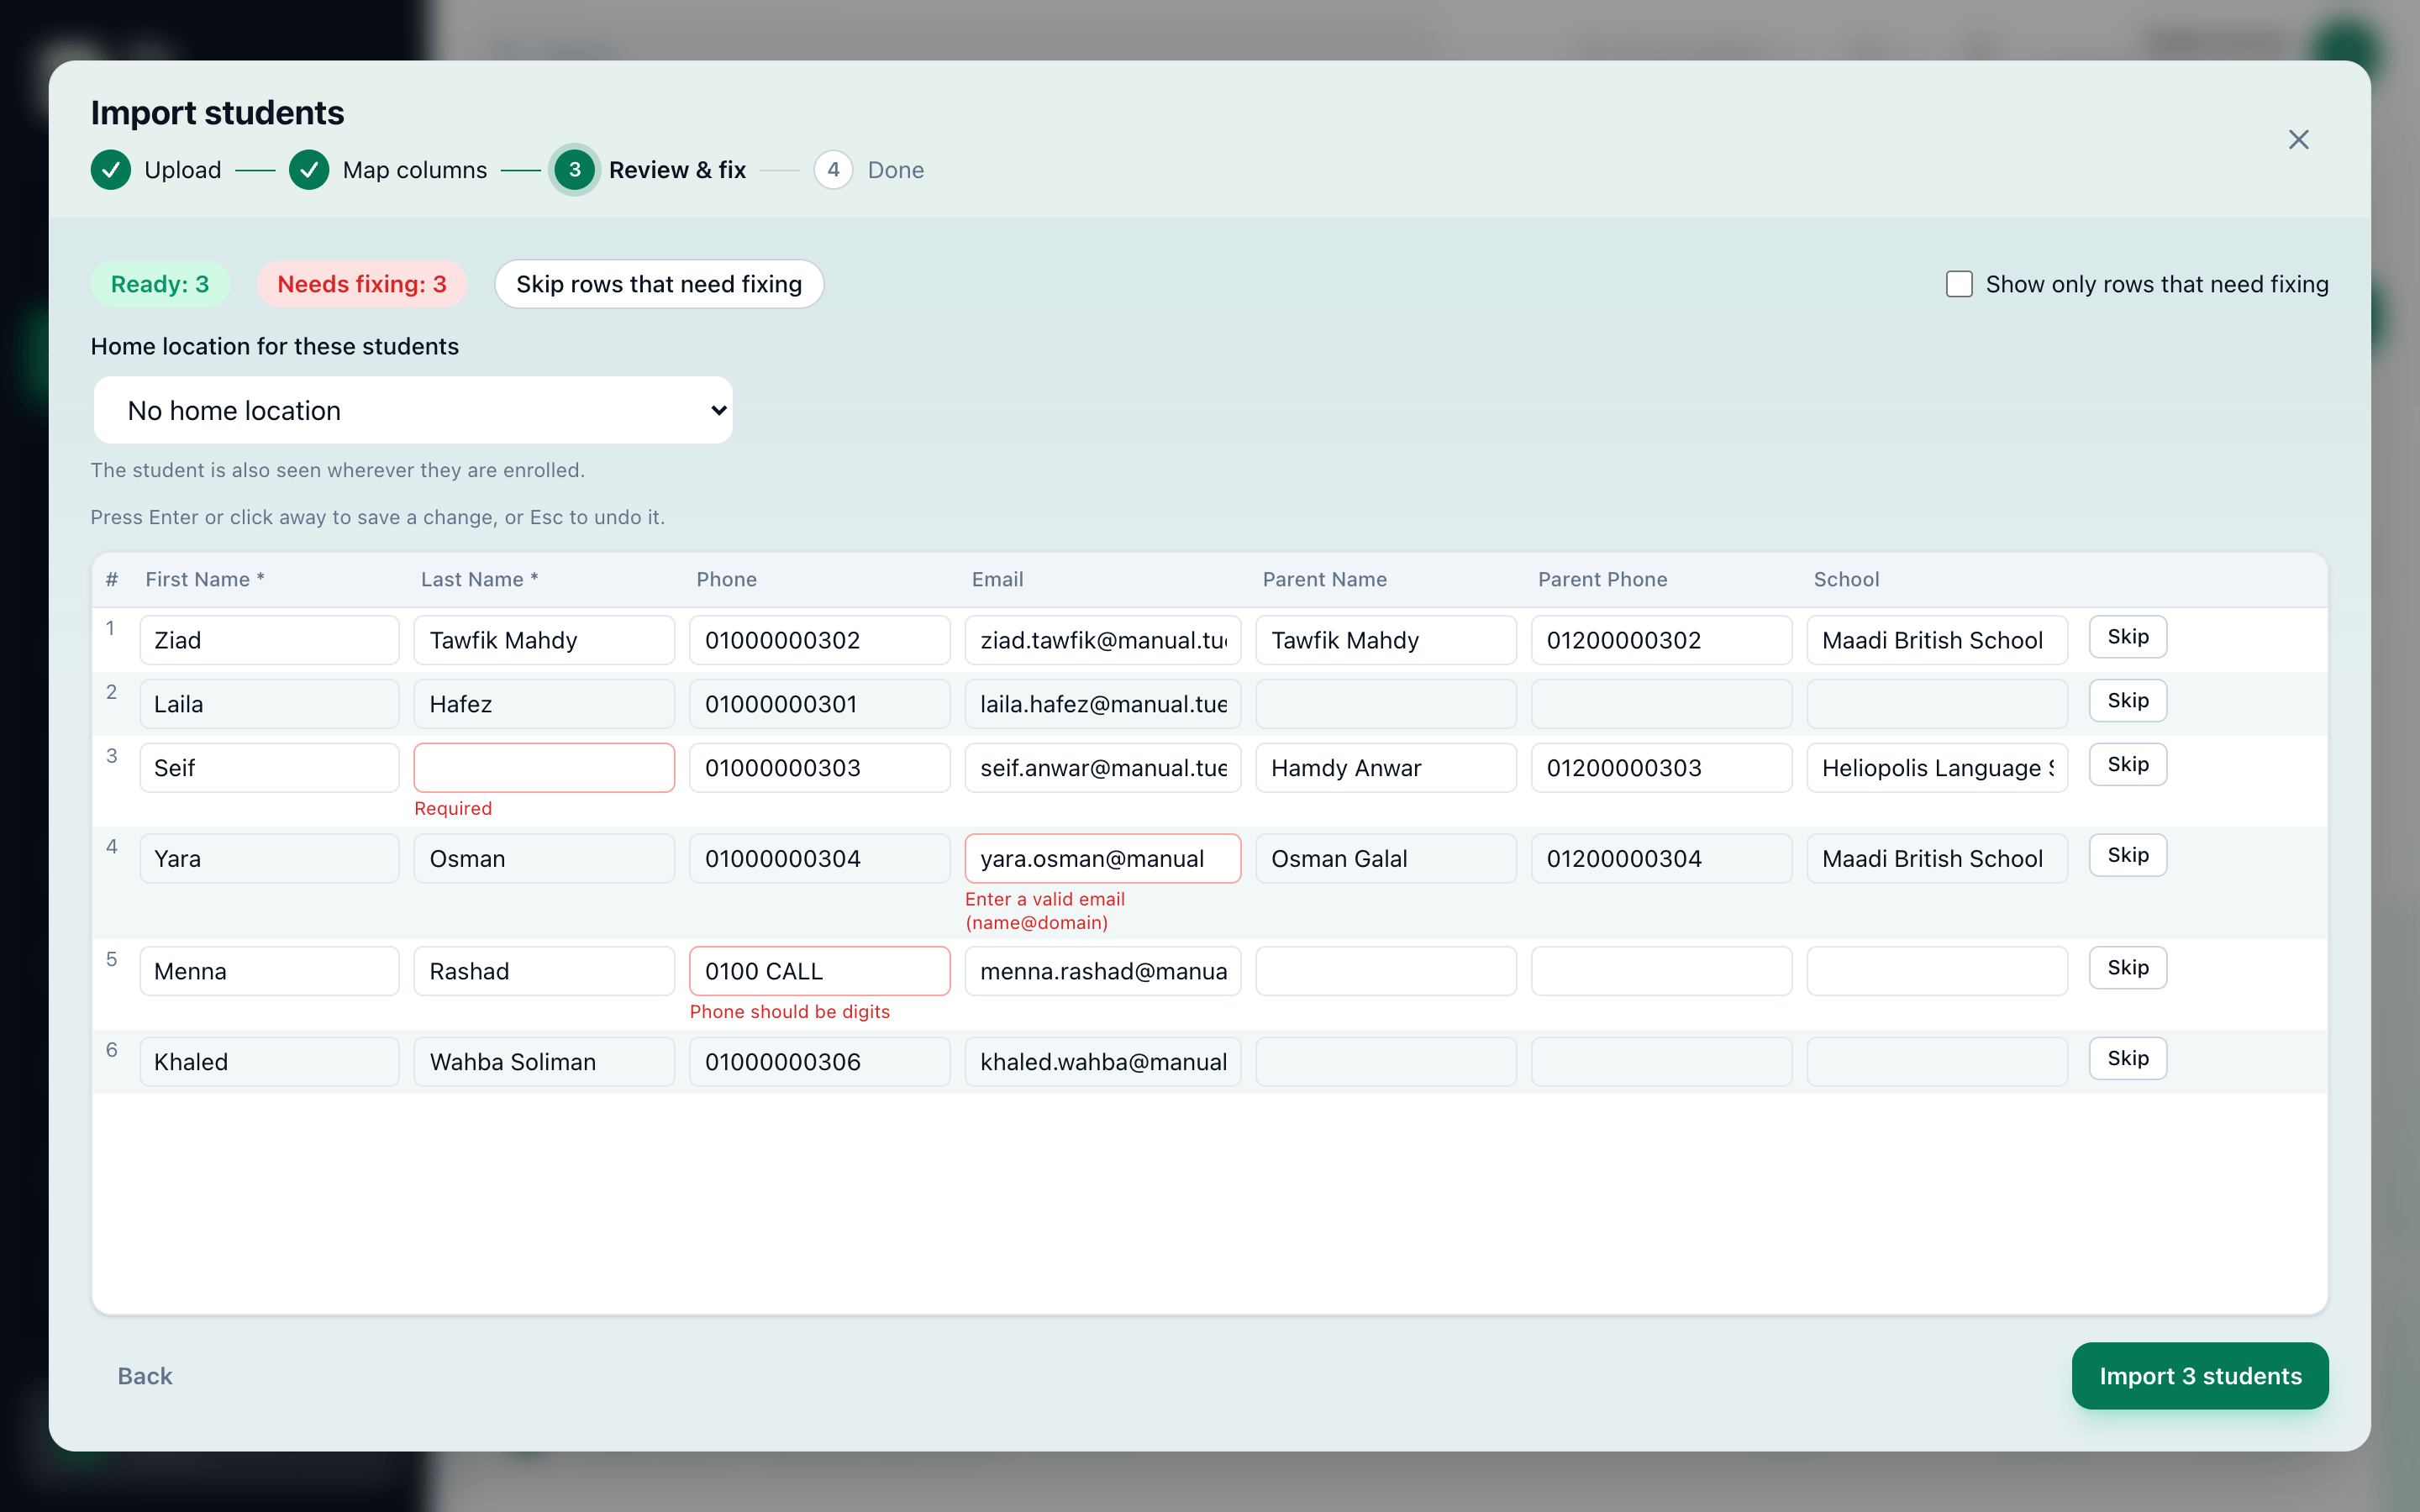
In Review & fix, click a cell with a red outline, and correct it.
-
Or press Skip rows that need fixing to leave out every row that still needs a fix.
-
Press the import button, which counts the ready rows: Import 3 students, for example.
If you see more than one location, choose Home location for these students above the grid first.
Import complete says how many students were added, and how many rows were left out. Tuevia does not keep the rows it left out: correct them in your spreadsheet and import them again.
What happens next
Section titled “What happens next”- The imported students are Inactive until they are enrolled in a group, which is the next step.
- Matching columns, whole names, and every message on the way: Importing students. One student at a time: Adding a student.
- Next in Getting started: opening your first group.