
Bringing an academy in from spreadsheets
Branches and Tracks → Students → Groups → Fees
Your academy kept its students, classes and payments in spreadsheets. This flow moves them into Tuevia in the order Tuevia needs them: a group needs a room and a course, an enrolment needs the student and the group, and a fee agreement tied to a group needs the enrolment. An owner can do every stop; each linked article says who else can.
1. Branches: the places and their rooms
Section titled “1. Branches: the places and their rooms”In Administration → Branches, add each branch, then open it and add its rooms. Groups are taught in rooms, and a group belongs to the branch of its room, so a branch with no rooms has nowhere to hold one.
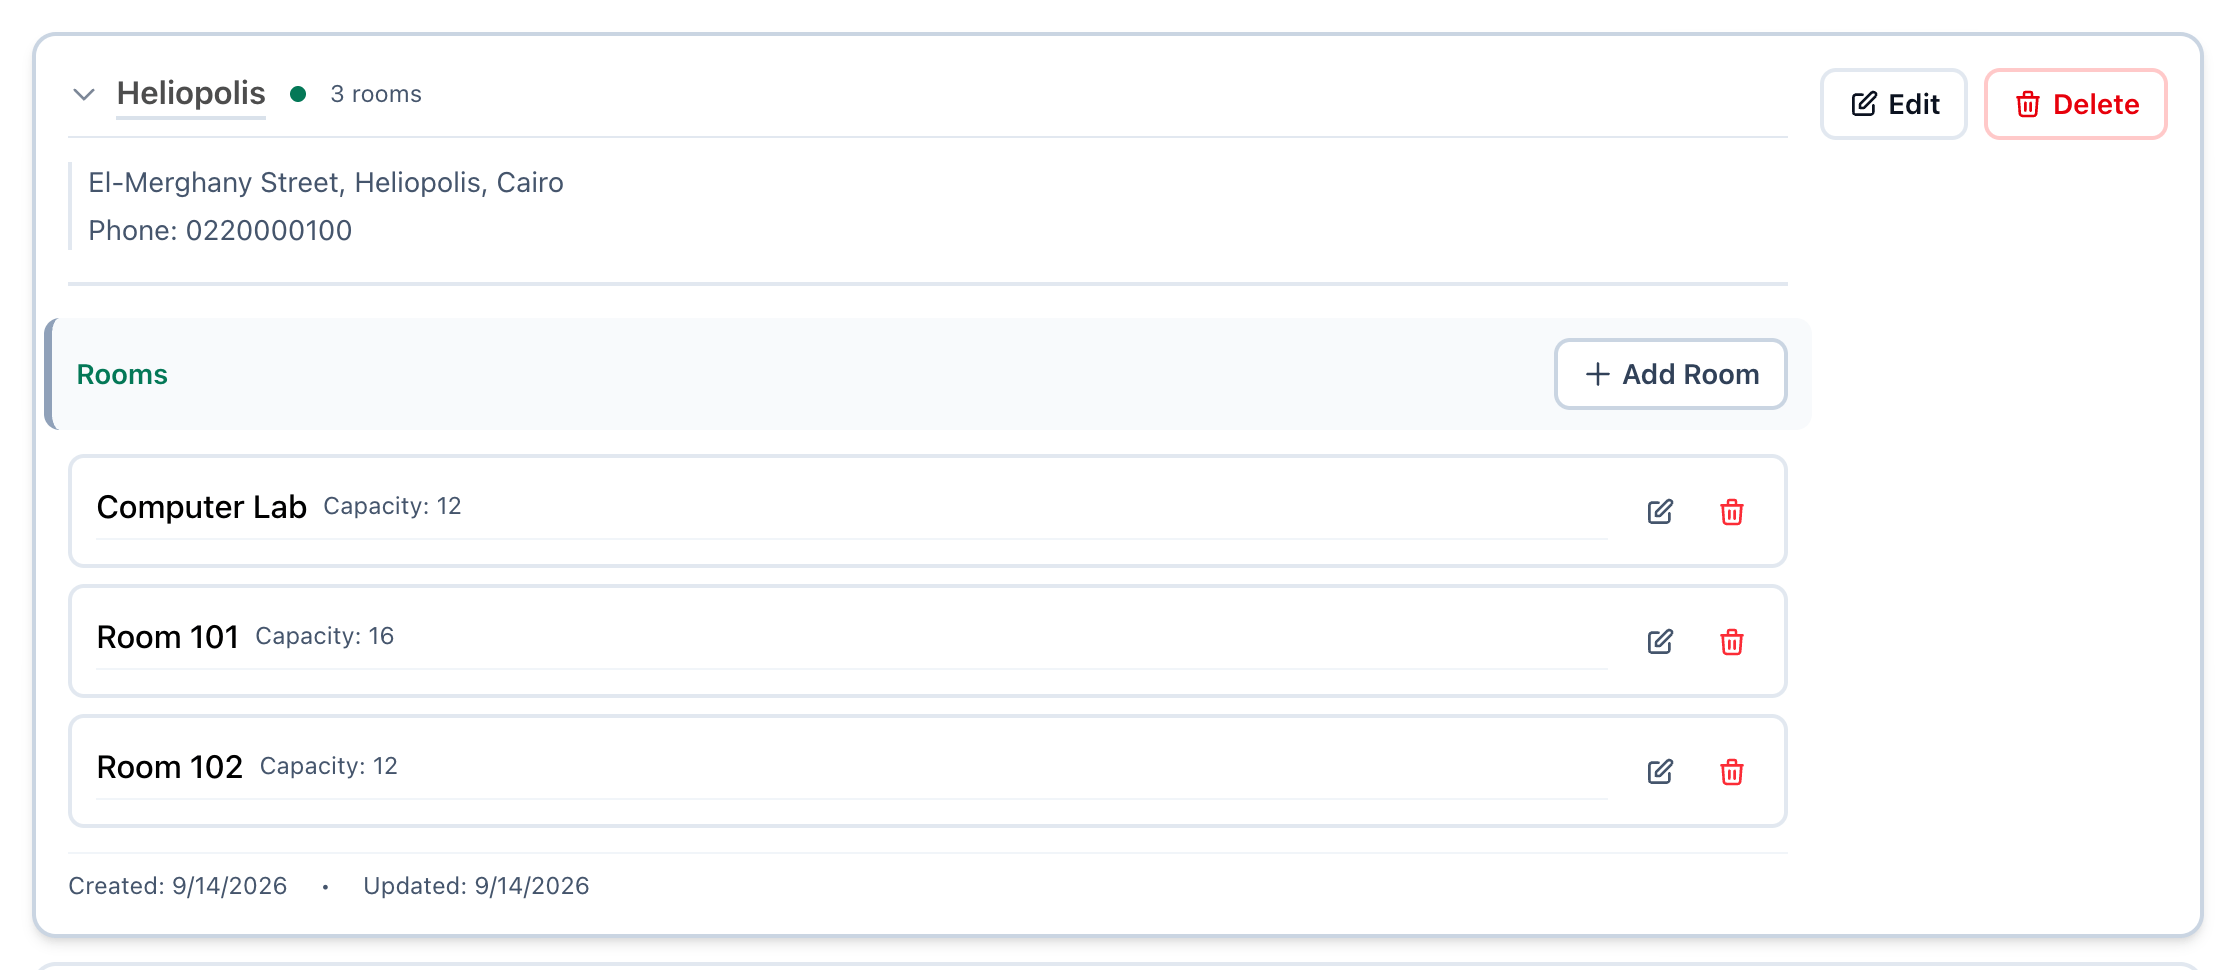
- Open the branch
- Add Room
See Adding a branch and Rooms.
2. Tracks: the courses you teach
Section titled “2. Tracks: the courses you teach”In Administration → Tracks, add a track for each kind of course, then open it and press Create Course for each course. A course’s Number of Sessions is how many sessions every group of it gets when you open the group at stop 4.
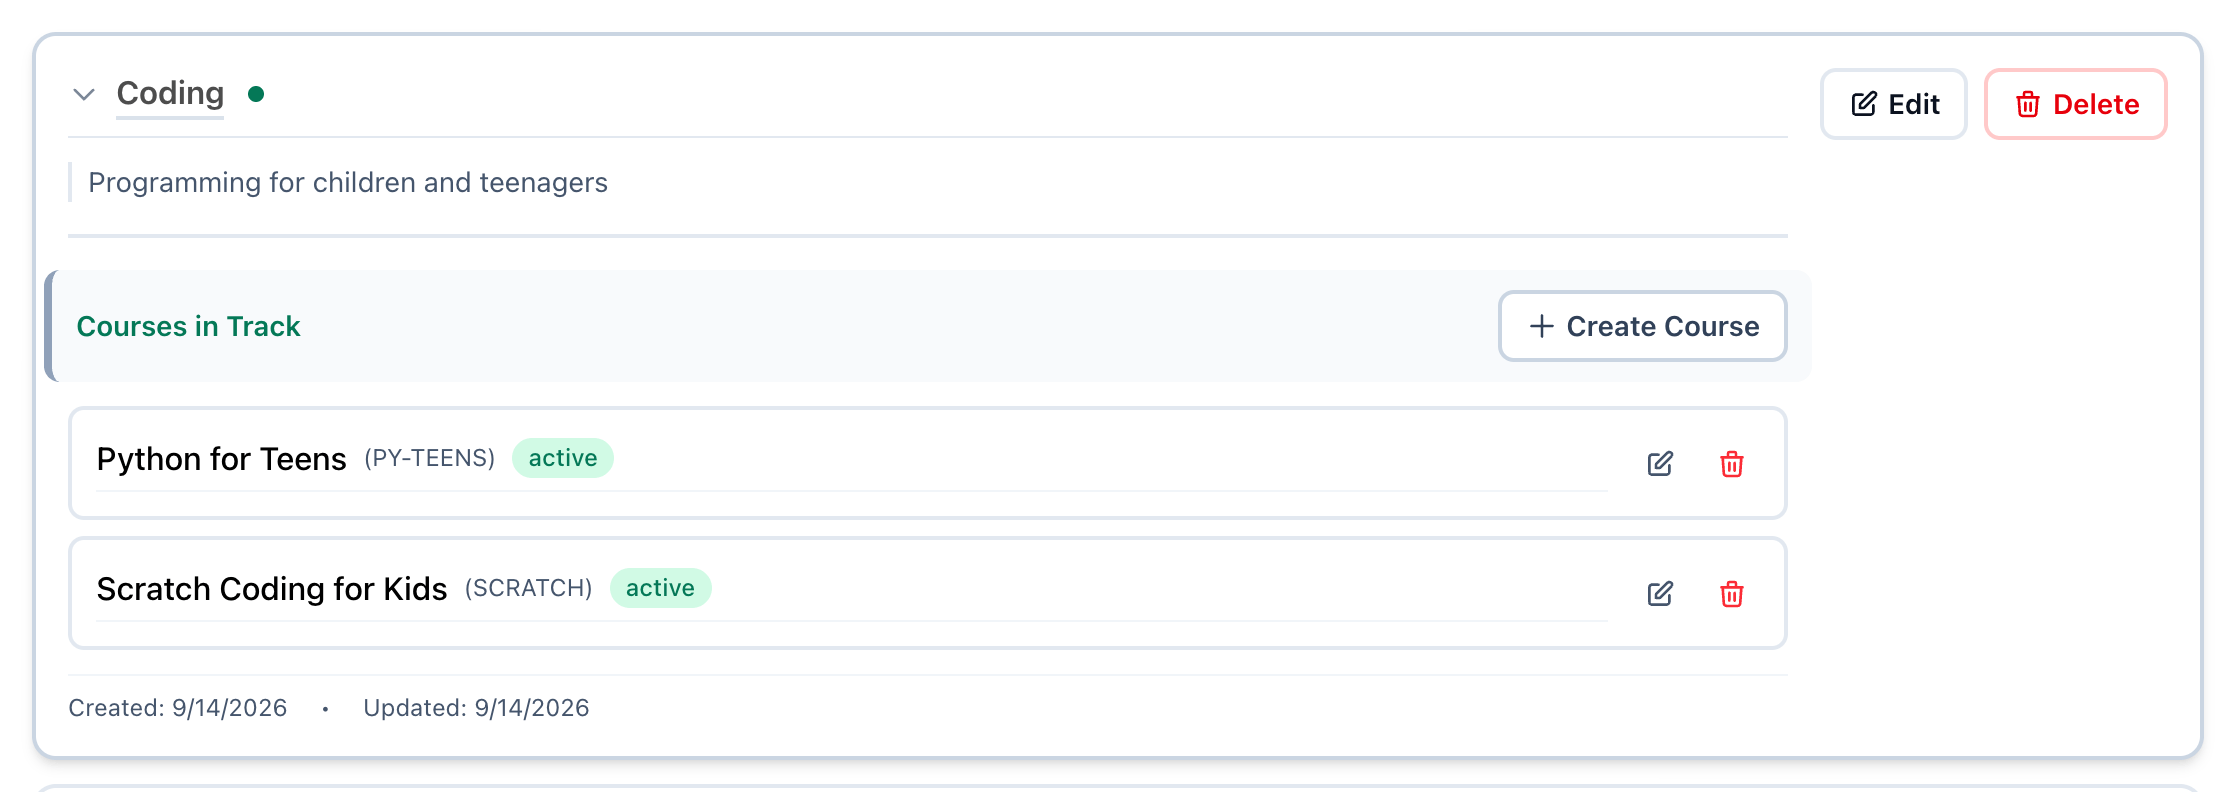
- Open the track
- Create Course
See Adding a track and Courses.
3. Students: import the spreadsheet
Section titled “3. Students: import the spreadsheet”On Teaching → Students, press Import and choose the file. You match its columns to Tuevia’s, fix or skip the rows that cannot go in, and import the rest. A column Tuevia does not have can become one of your academy fields.
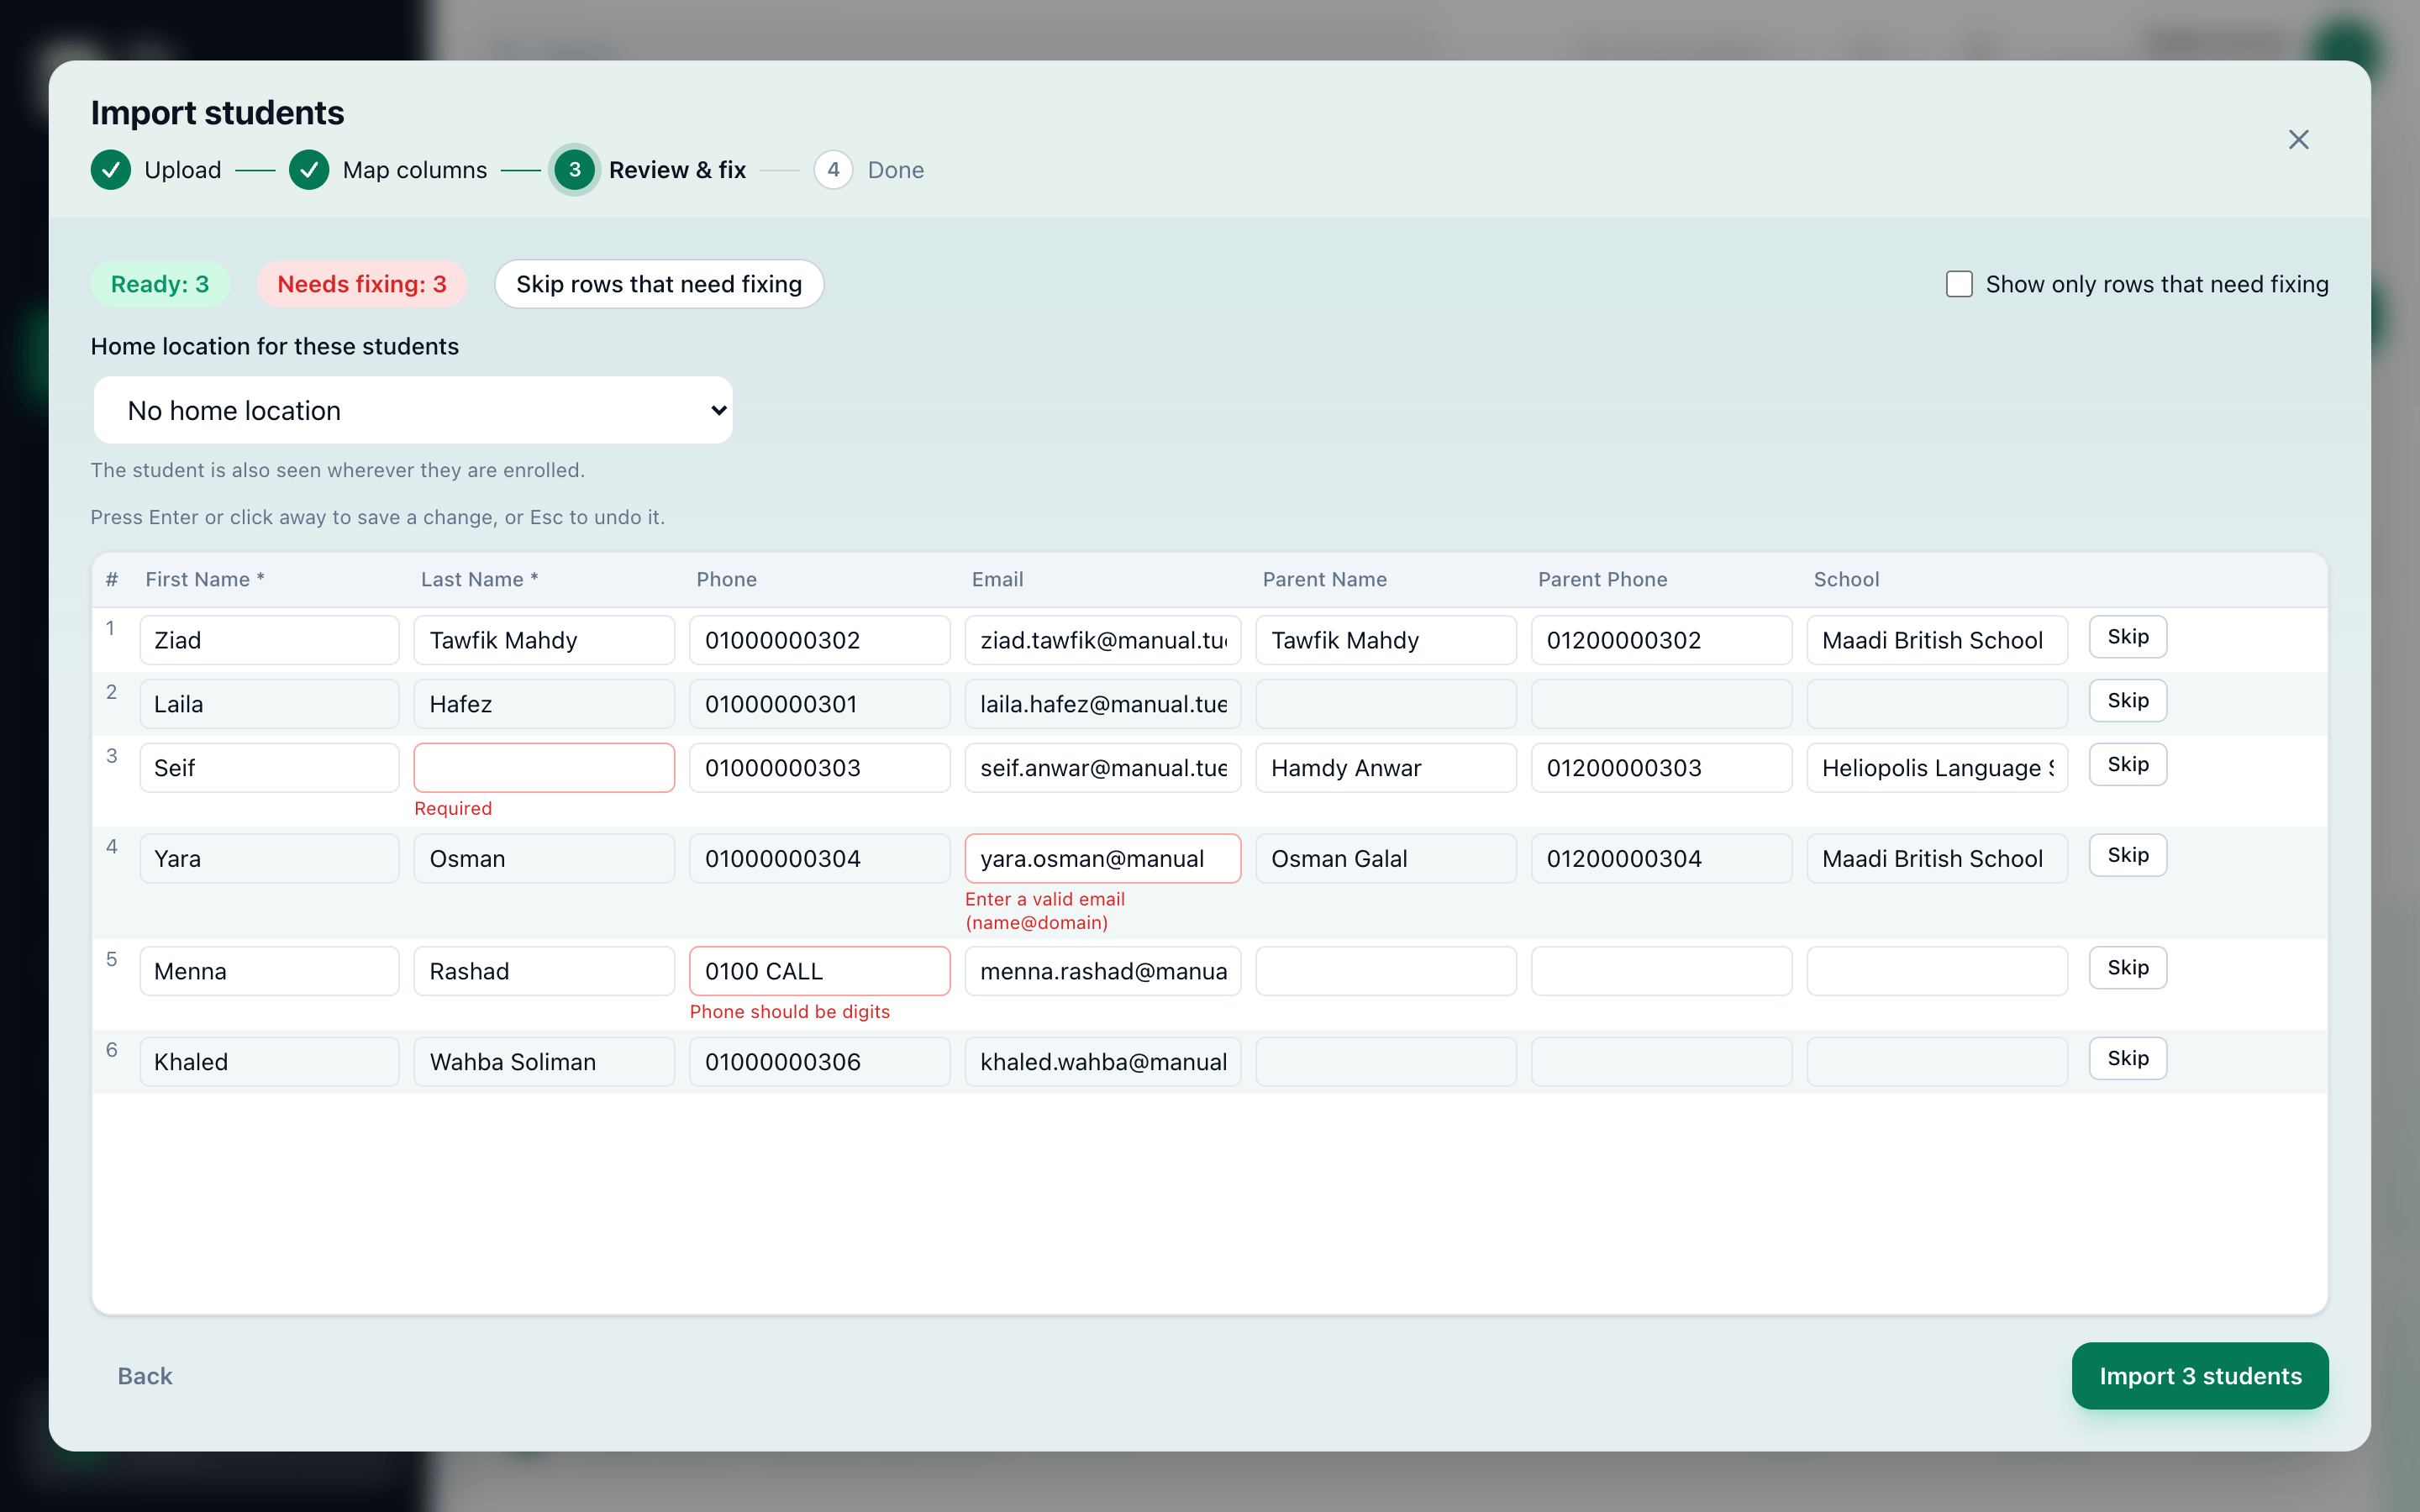
- A cell to fix
- Skip rows that need fixing
- Import
Home location for these students gives every student in the file the same location. If your students belong to different branches, import one file for each branch. Rows that are left out are not kept anywhere: correct them in the spreadsheet and import them again.
Imported students are Inactive until they are enrolled. See Importing students.
4. Groups: open the groups, with their students
Section titled “4. Groups: open the groups, with their students”On Teaching → Groups, press Create, then Create Group. Choose the course from stop 2, a room from stop 1, and the days and times. On the last step, find the imported students under Add Students and choose them: they are enrolled when the group is created, and Tuevia makes all of its sessions.
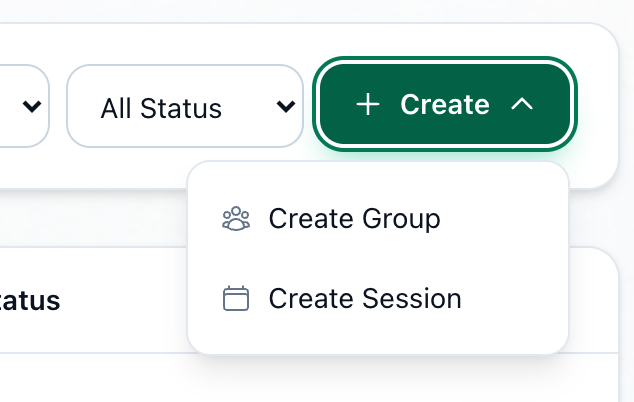
- Create
- Create Group
If your instructors are not in Tuevia yet, you can create the group without one and assign them later: see Hiring an instructor. See Creating a group.
5. Enrolments: the students you missed
Section titled “5. Enrolments: the students you missed”A student you did not choose at stop 4 can still join. On the group’s page, press + Add Student - or press Enroll on the student’s row on Teaching → Students.
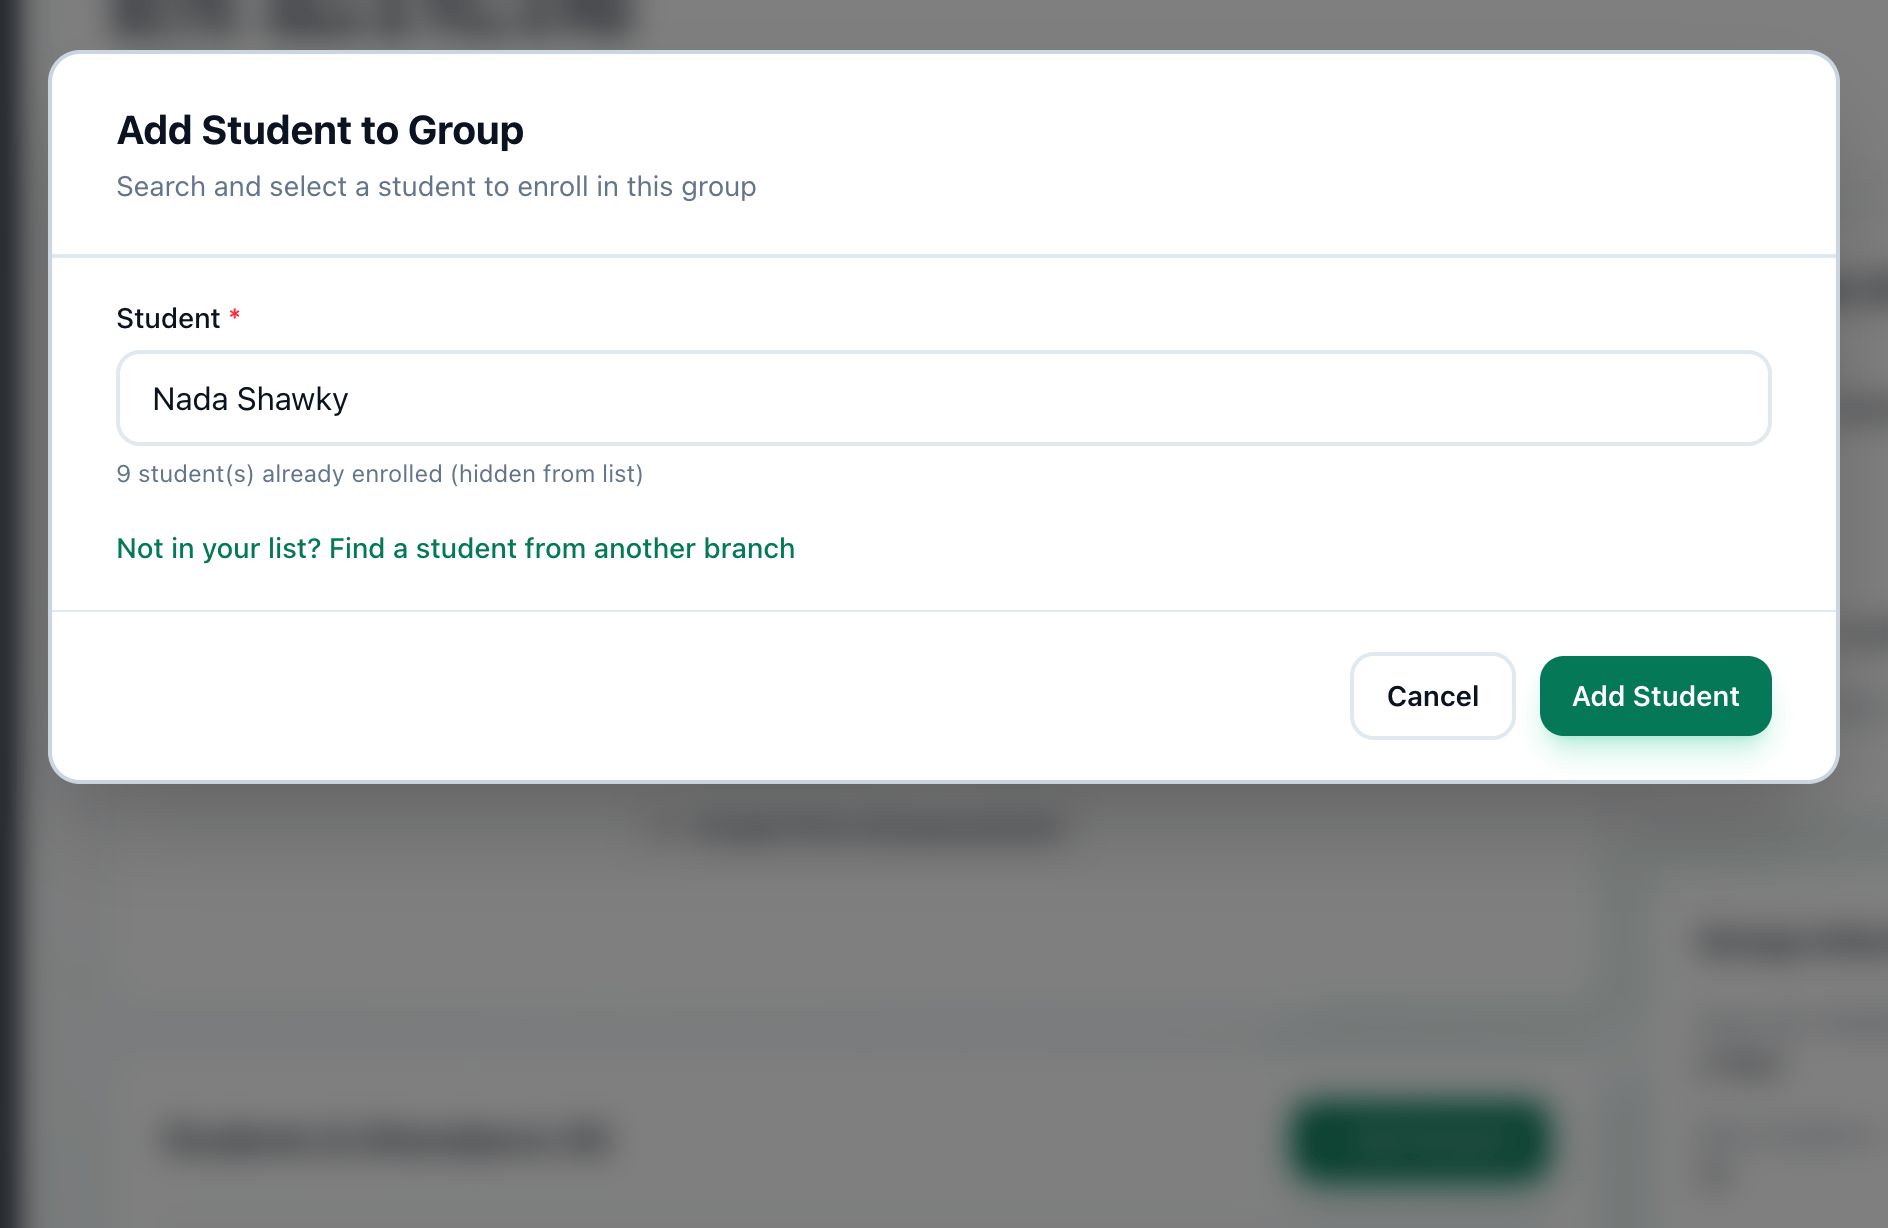
- + Add Student
- Student
- Add Student
Students who join after the move are not imported: add them with New enrolment - see Enrolling a new student. See Adding students to a group and Enrolling a student in a group.
6. Fees: what each student pays
Section titled “6. Fees: what each student pays”On Finance → Fees, press New Student Pay for each student. Group offers only the running groups the student is enrolled in, which is why the enrolments come first. Enter the Total Amount (EGP) they agreed to pay.
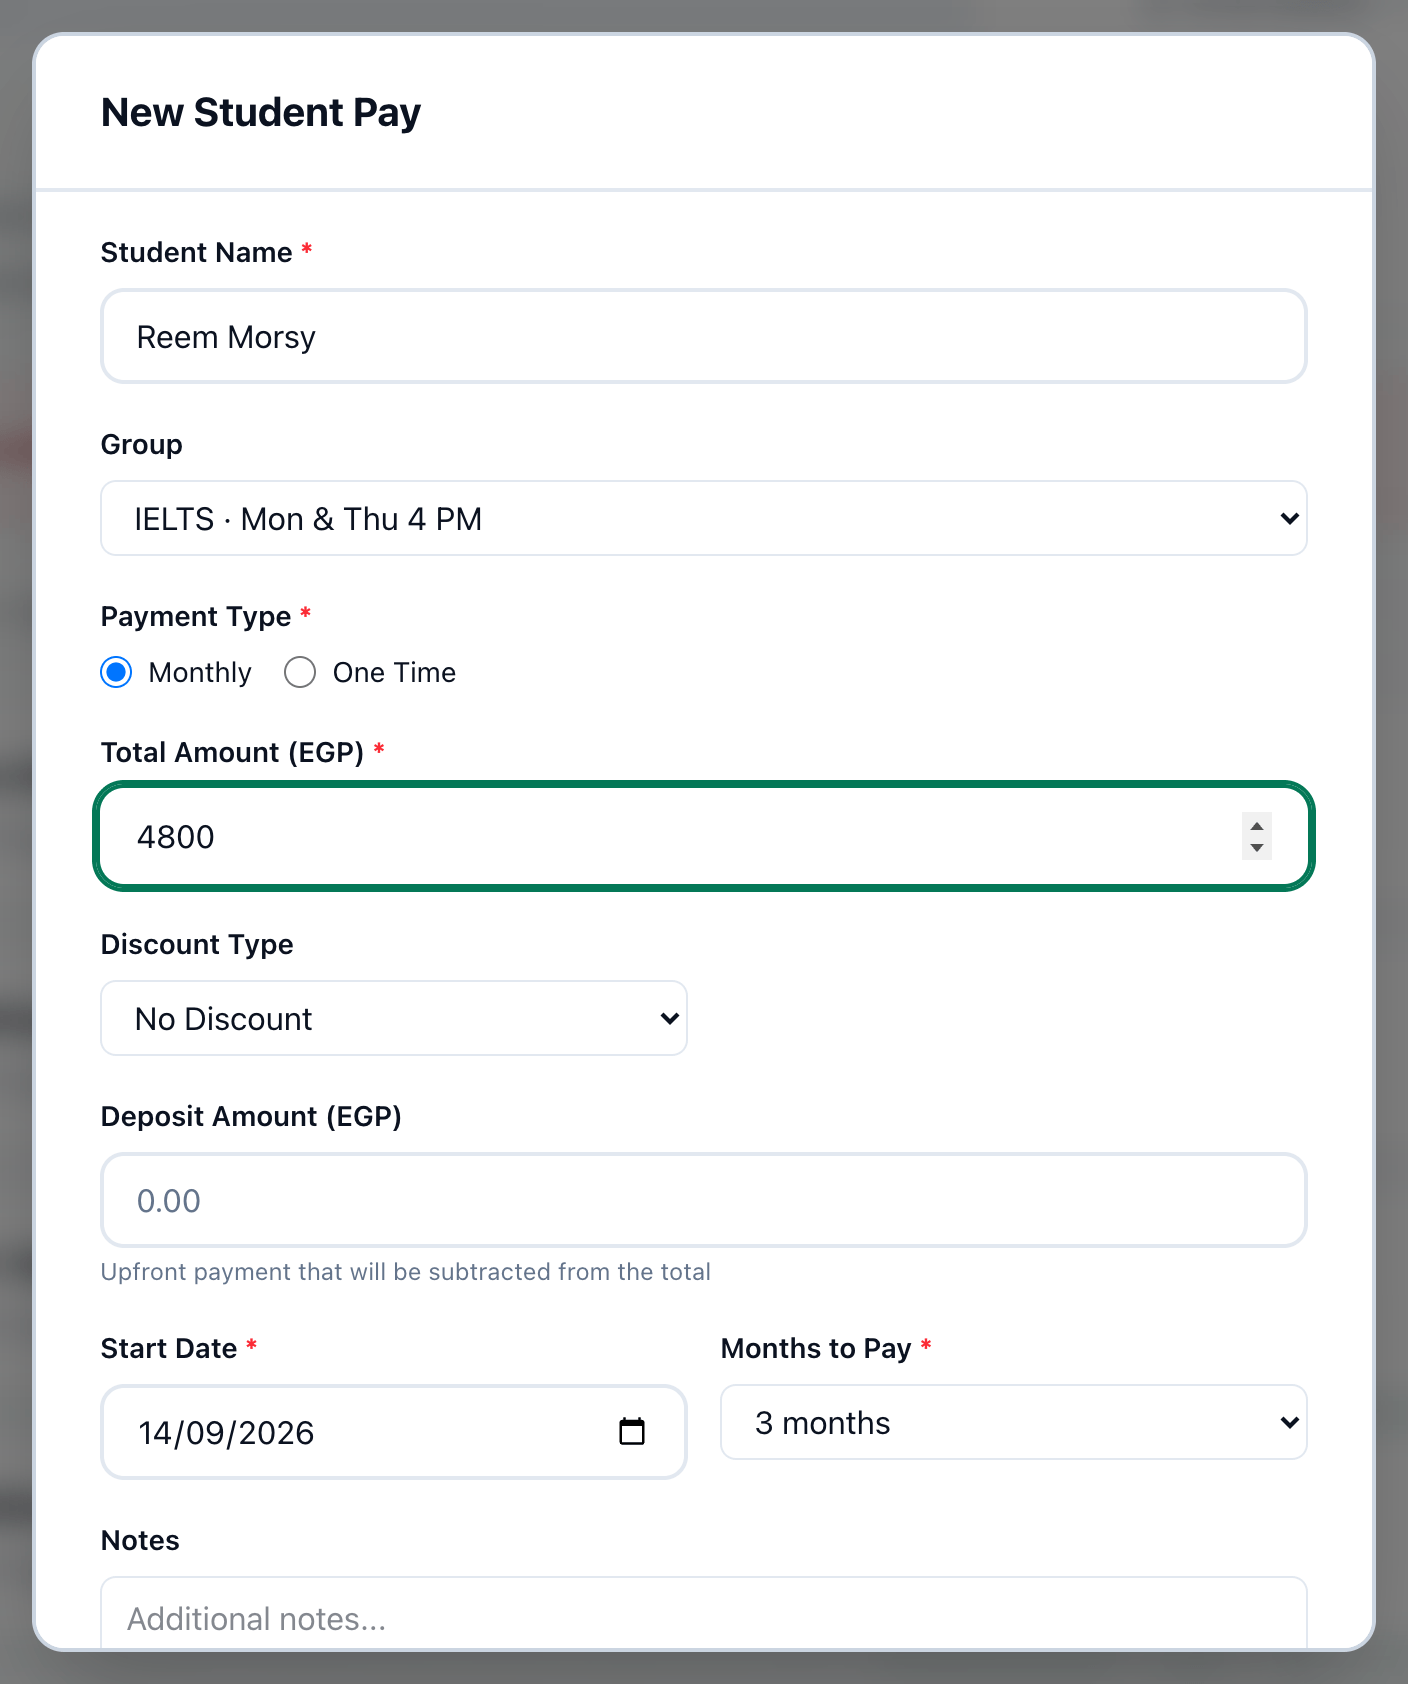
- Student Name
- Group
- Total Amount (EGP)
An instalment whose due date has passed unpaid marks the agreement Overdue. For an agreement that started before the move, record what the student has already paid with + on its card, so that only what is really owed shows as overdue.
See Setting up a student’s fees and Recording a payment.
Afterwards
Section titled “Afterwards”- Outstanding on Finance → Reports adds up what your students still owe - see What is owed.
- Bring your staff in by invitation - see Hiring an instructor.