
Hiring an instructor, from invitation to first salary
Invitations → Employees → Groups → Salaries
A new instructor joins your academy. Before they can teach and be paid, they need an account, a role that lets them teach, the branches they work in, a group, and a salary. An owner can do every stop; each linked article says who else can.
Before you start
Section titled “Before you start”Only people whose role has Instructor Access can be assigned to a group. Check that the role you will give them has it - see Roles and What a role may do.
1. Invitations: invite them
Section titled “1. Invitations: invite them”In People → Employees, open the Invitations tab and press Invite Employee. Enter their email address, choose their Role, and under Where they work choose the branches they will teach in. Tuevia emails them a link that lasts 7 days.
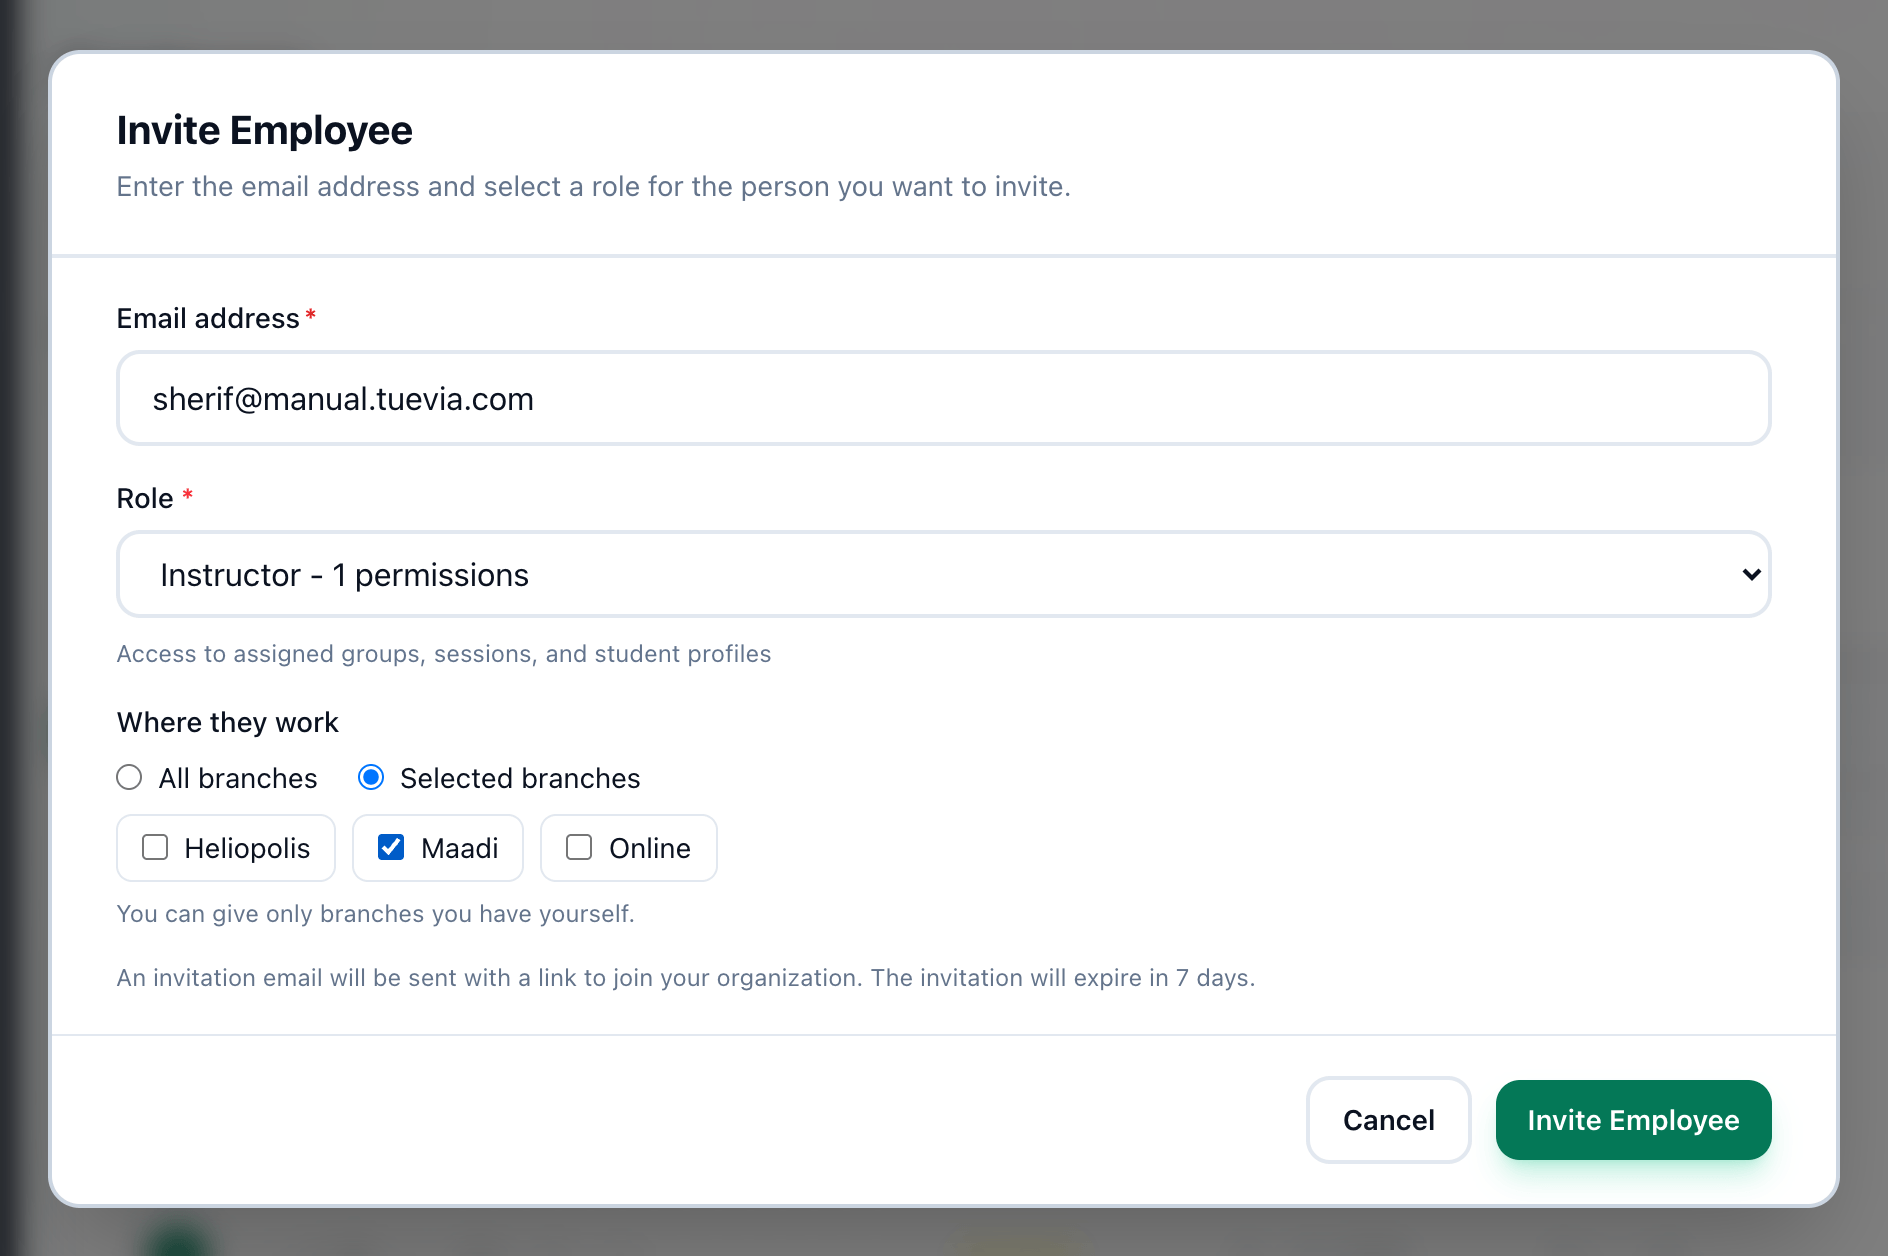
- Email address
- Role
- Where they work
- Invite Employee
People → Invitations sends invitations too, but always for all of your branches. See Adding an employee.
2. They accept
Section titled “2. They accept”The link opens a page with your academy’s name and the invitation. A newcomer to Tuevia creates an account there; someone who already has one enters its password. From then on they are in the employees list, and the invitation shows Accepted.
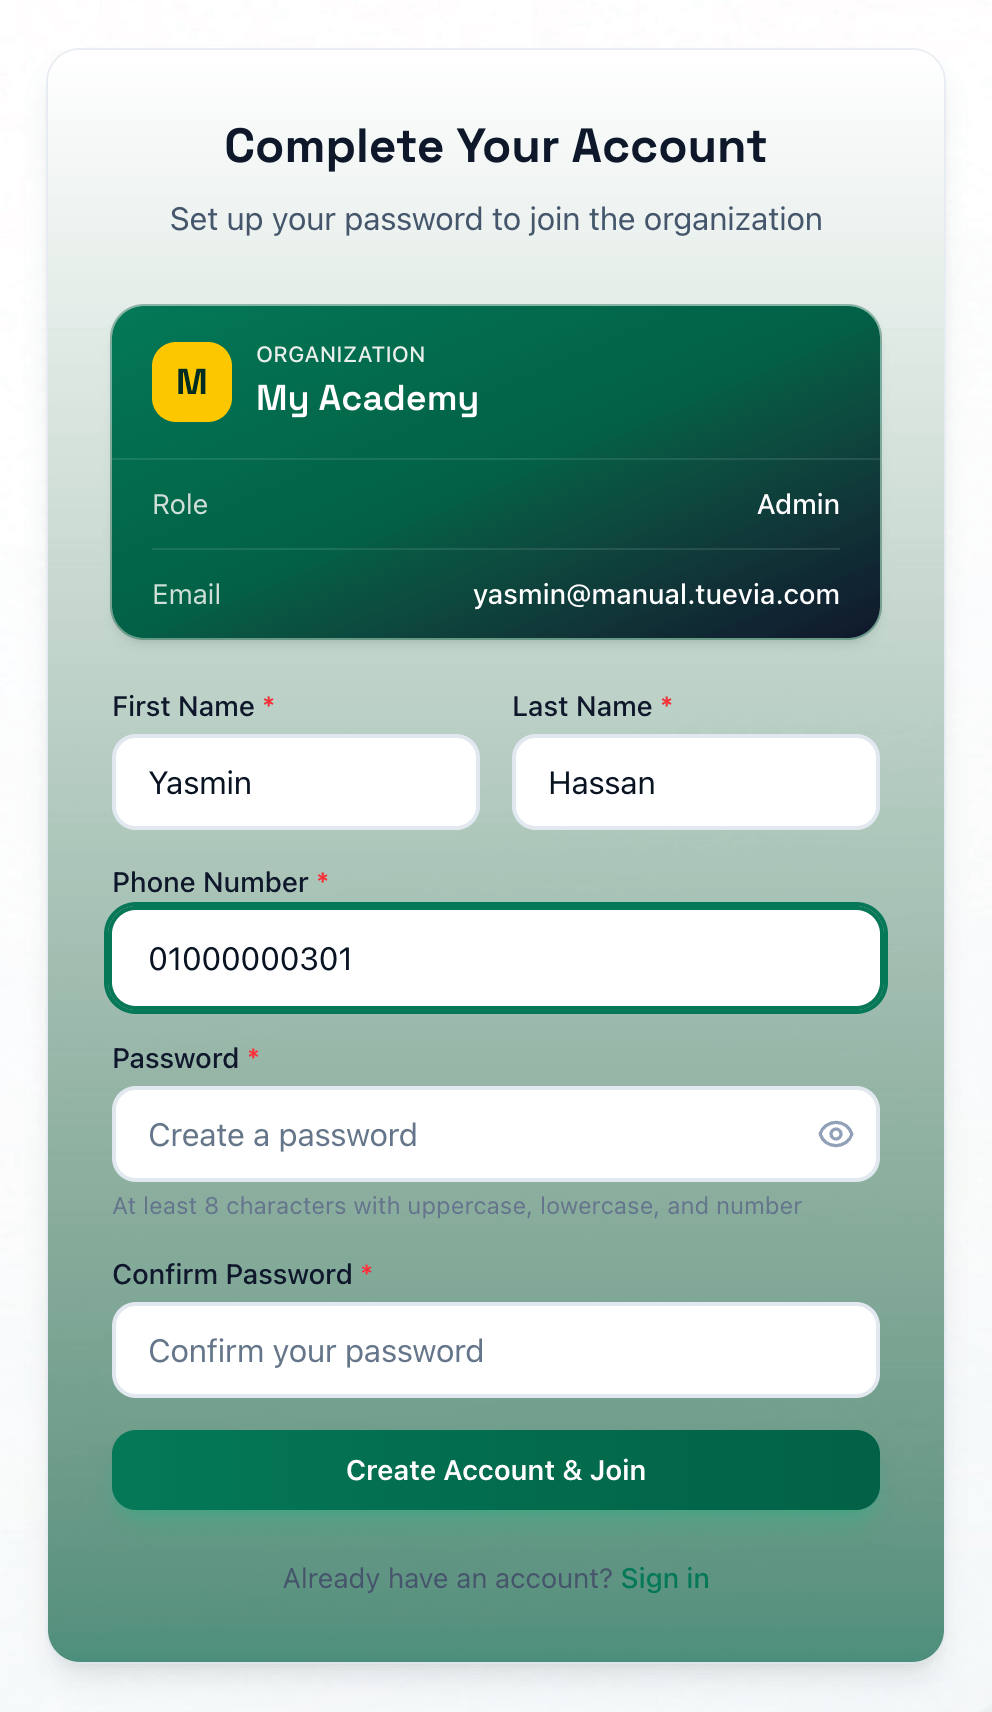
- The invitation
- Create Account & Join
Owners and admins who work where they work receive New team member. If the email does not arrive, Resend it from People → Invitations. See What the invited person sees and Resending and cancelling.
3. Employees: their role and branches
Section titled “3. Employees: their role and branches”Open their profile from the employees list and press Edit to check or change their Role and where they work. They see the data of the branches they work in, and no others.
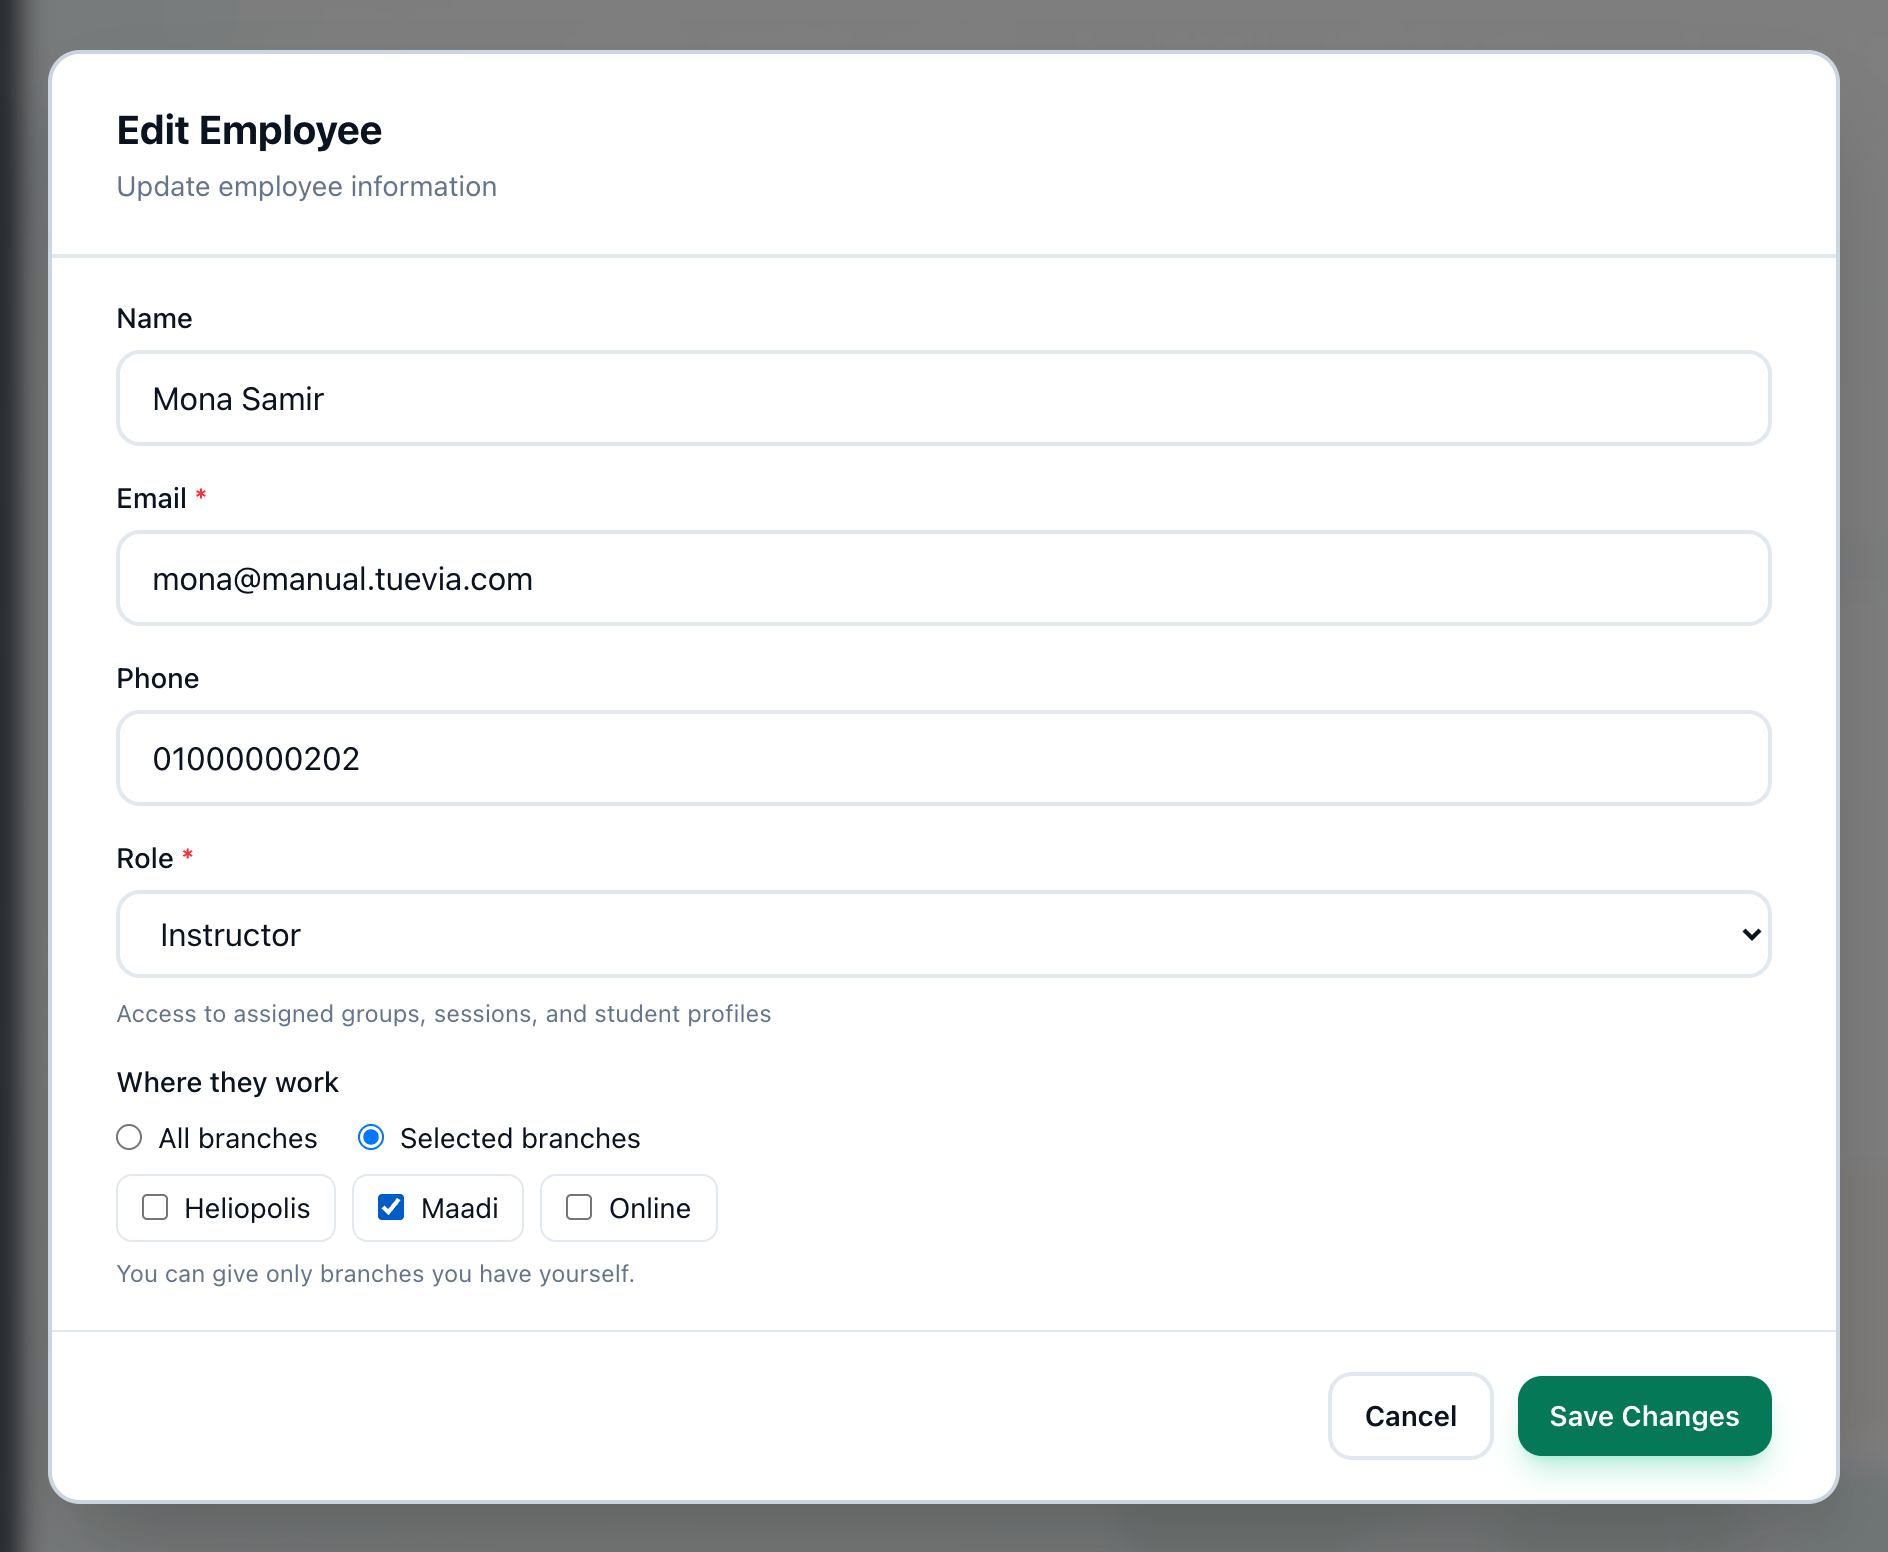
- All branches
- Selected branches
- The branches
See Changing someone’s role and Where somebody works.
4. Groups: give them their groups
Section titled “4. Groups: give them their groups”On Teaching → Groups, choose them in Instructor when you create a group, or press Edit on an existing group’s row, choose them and press Update Group. From then on the group is theirs on Groups, its sessions are on their Home, and they take its register.
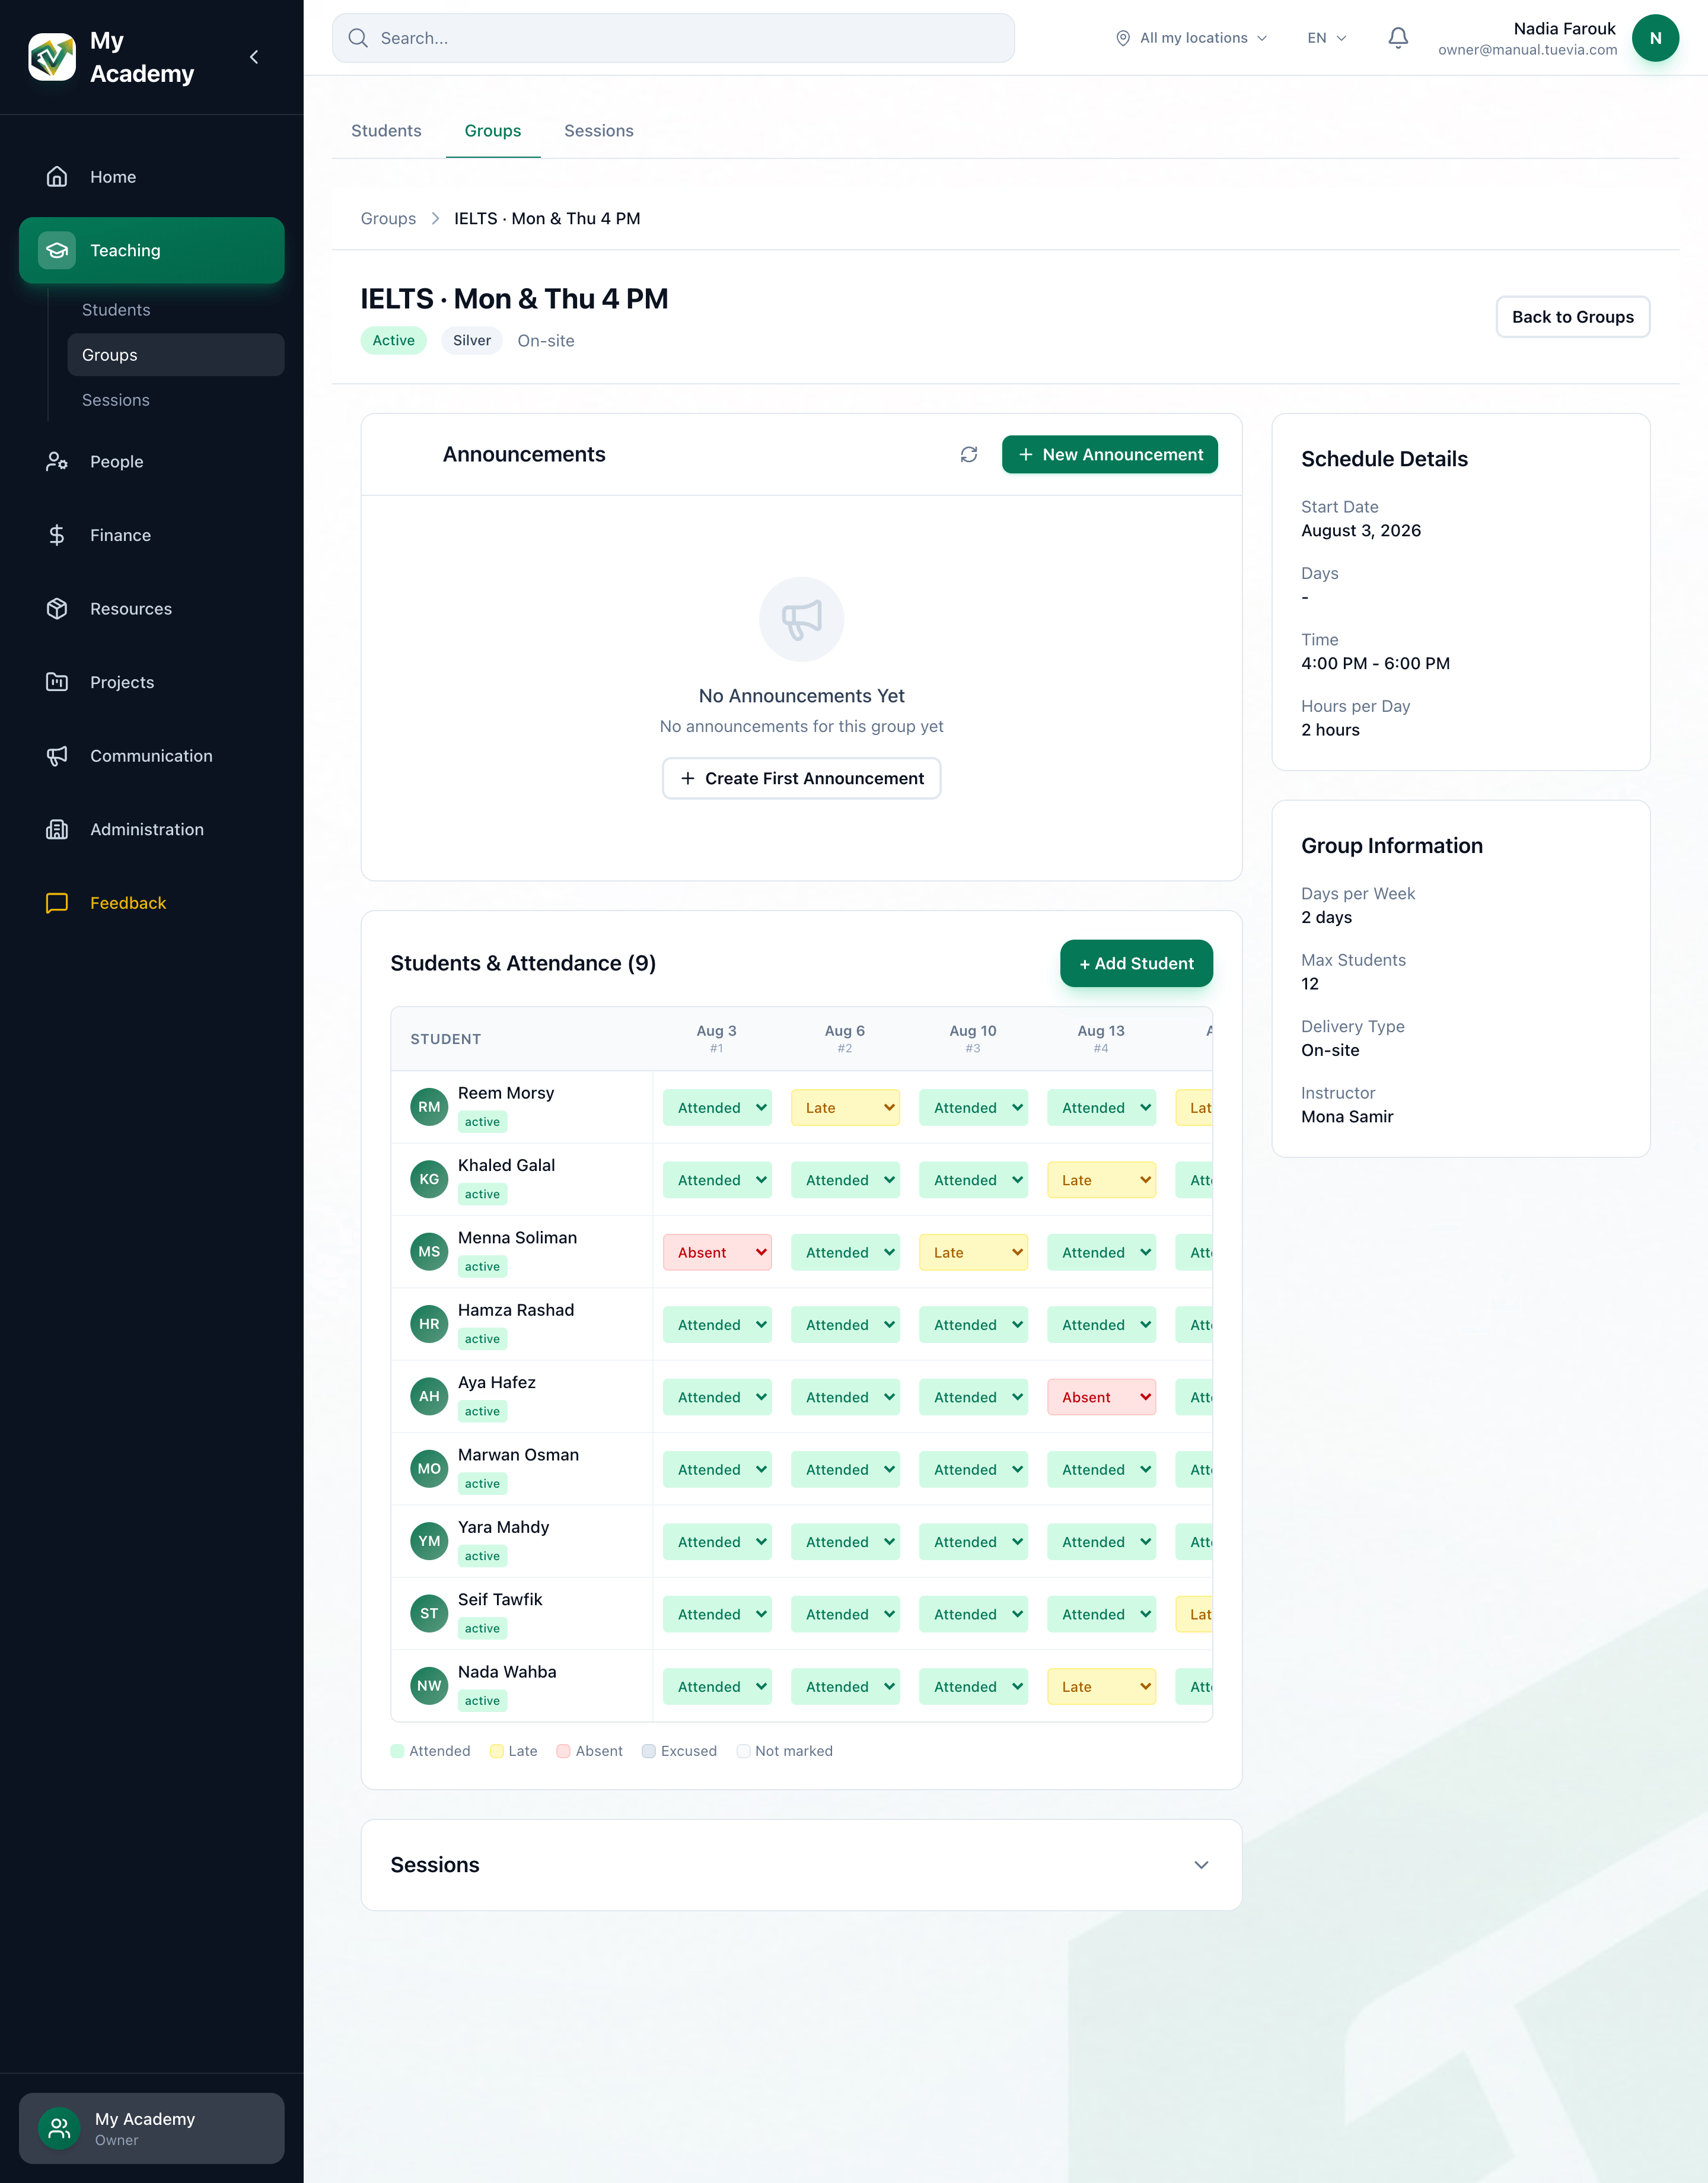
- Group Information
A group’s sessions that were already made keep the instructor they were made with. See Instructors on a group.
5. Salaries: their salary and working week
Section titled “5. Salaries: their salary and working week”On Finance → Salaries, press Add Salary and choose them. The first step sets their working week, which their check-ins are measured against; the second sets their pay. Until they have a salary, the Attendance tab of their profile has no working days to count.
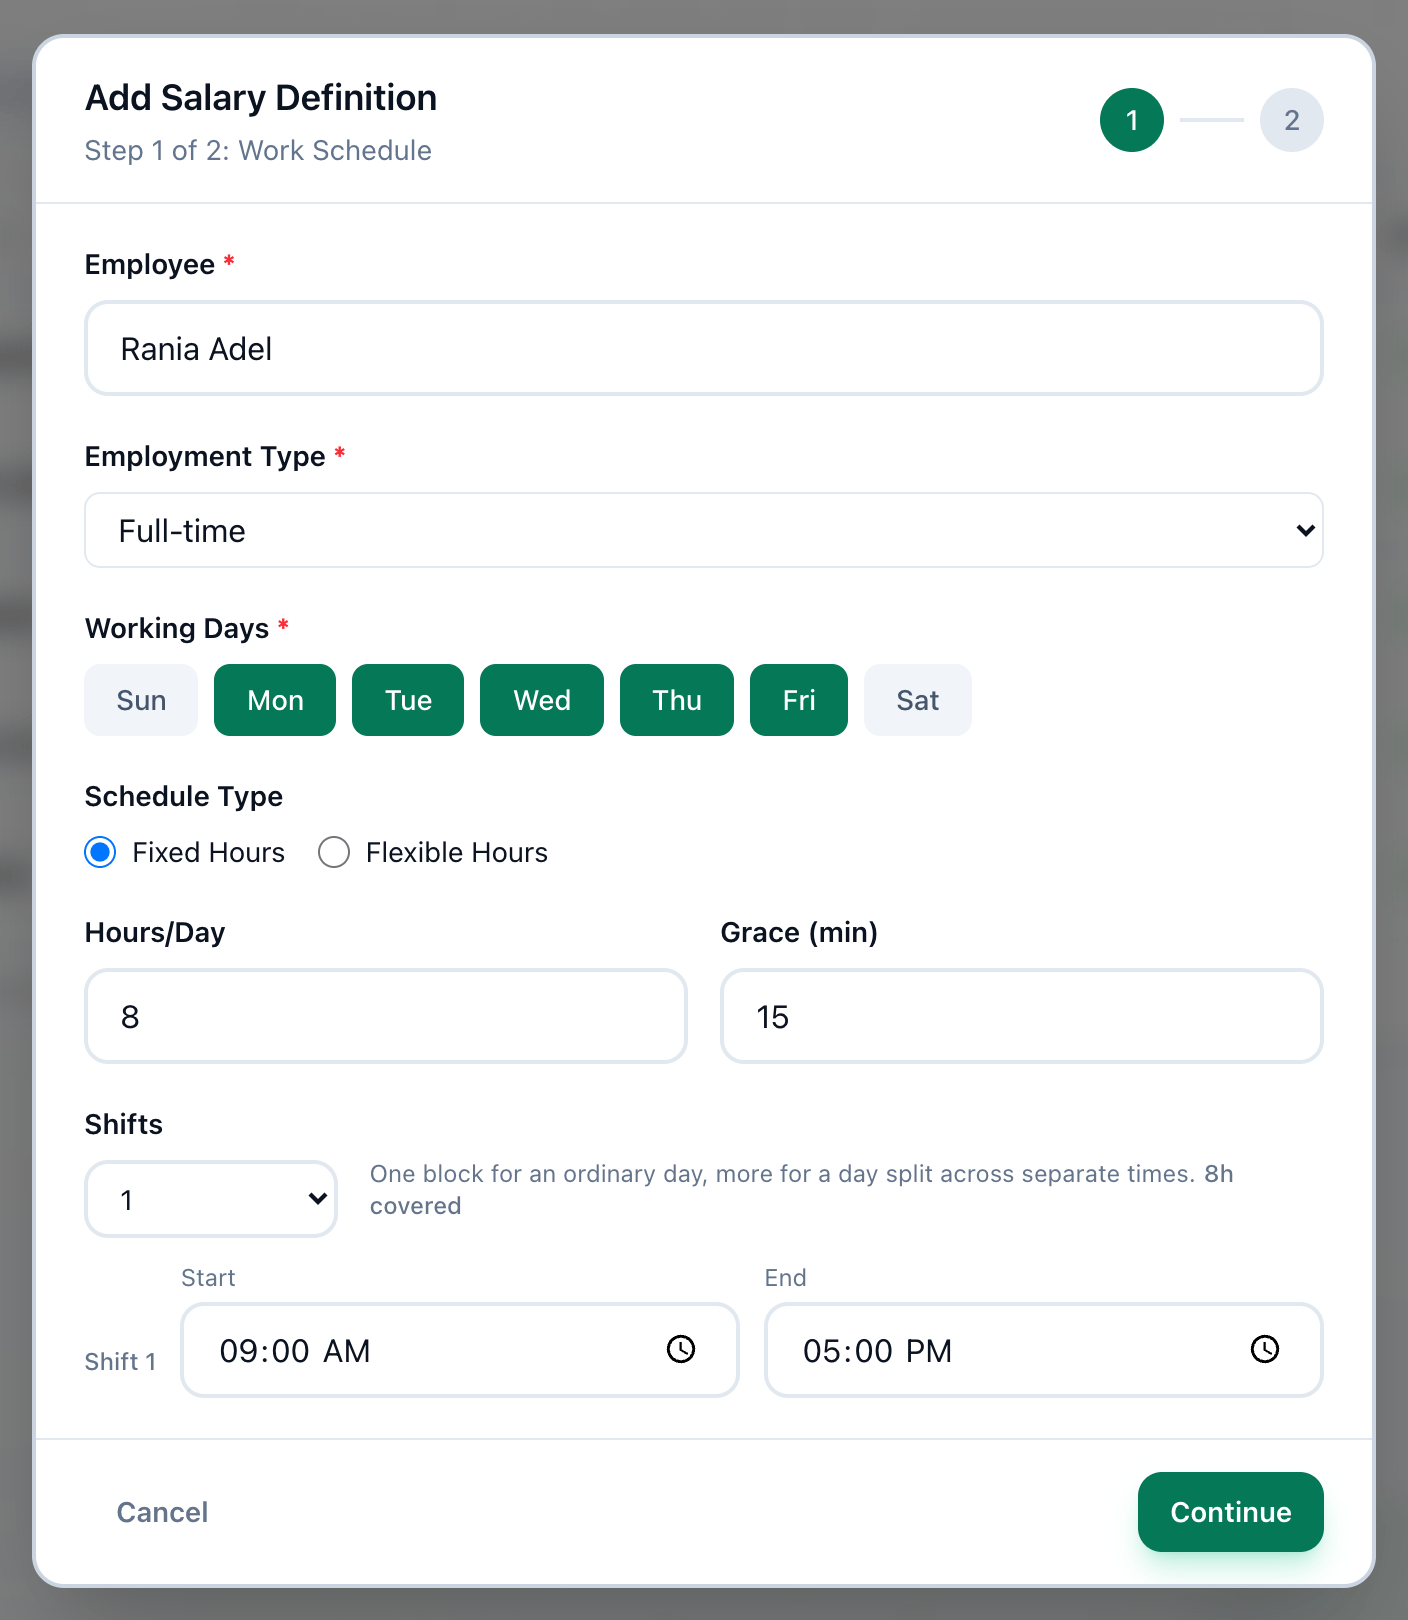
- Employee
- Working Days
- Continue
See Adding a salary.
6. Salaries: their commission
Section titled “6. Salaries: their commission”If they earn a share of what their groups collect, press Commission on their row and set a rate: a default for every group they teach, or a rate for one group. Commission counts the sessions recorded against them, so on a group they took over, the sessions made before keep the instructor they were made with.
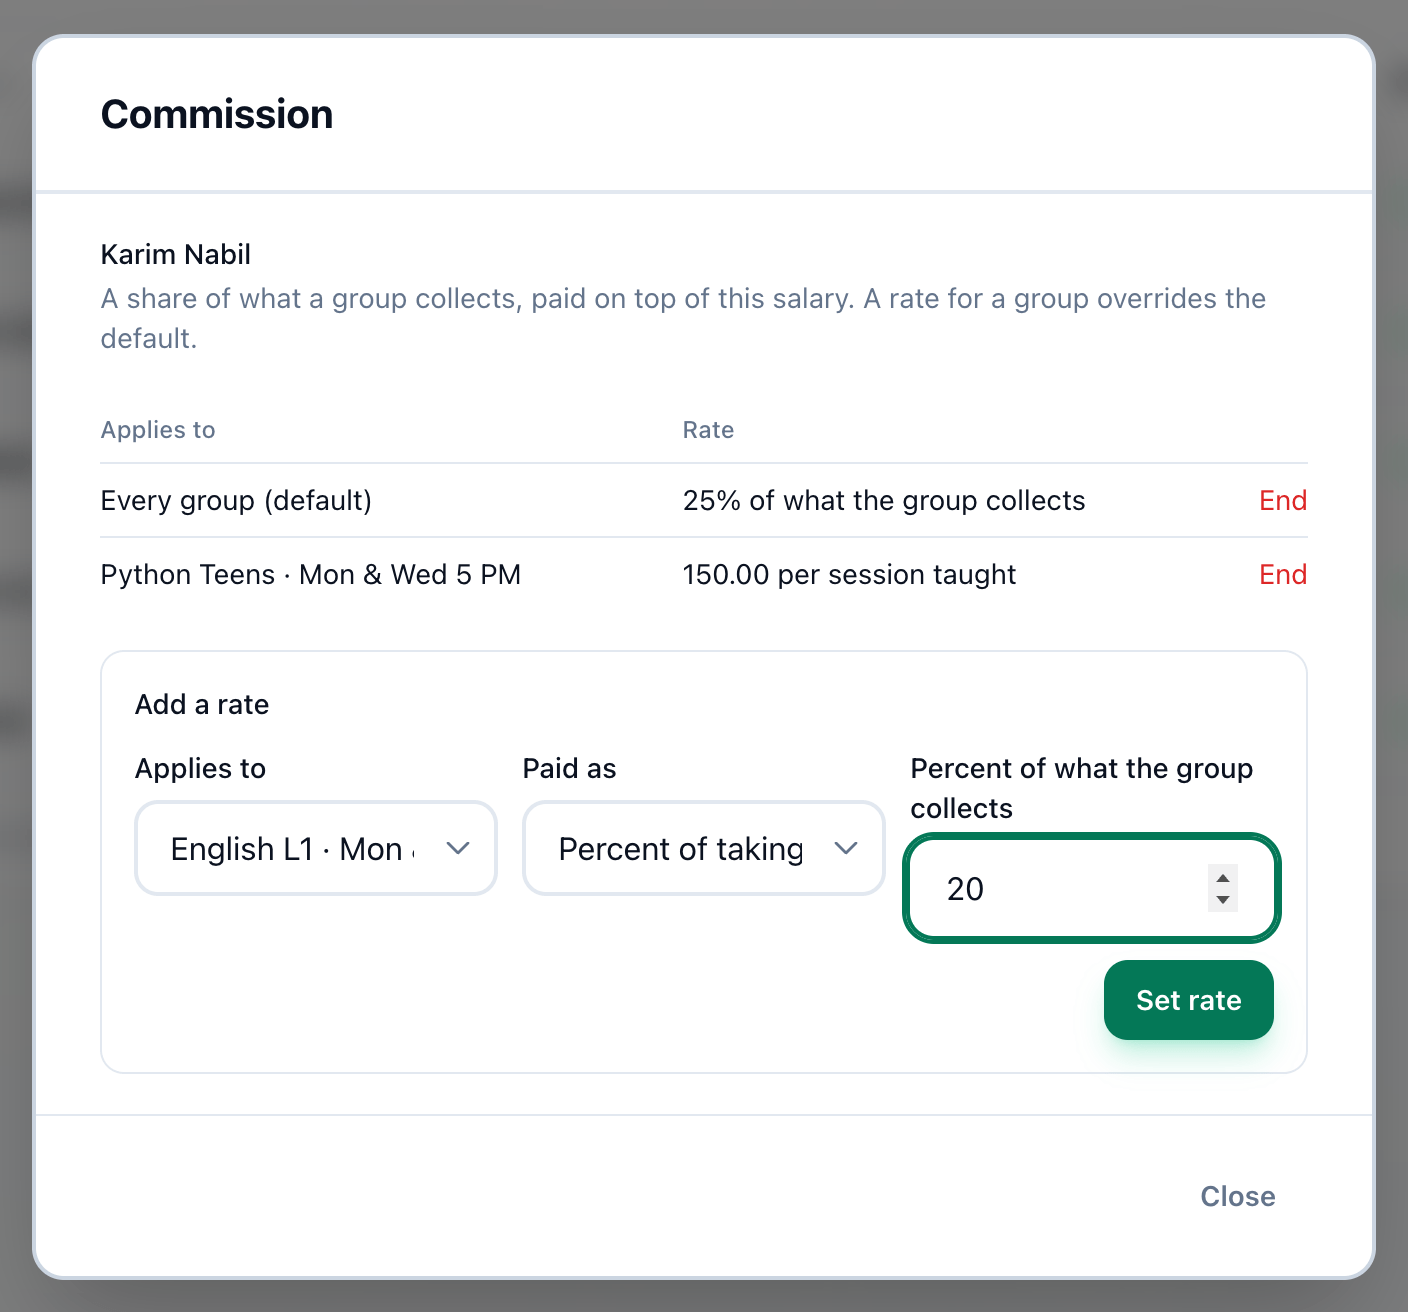
- Applies to
- Paid as
- The rate
- Set rate
See Commission.
Their first salary
Section titled “Their first salary”They check in and out on their home screen from their first day. At the end of the month, Process Salaries pays them with everyone else, from those check-ins and their commission - see Month end. Their day itself is in An instructor’s teaching day.