
Adding a branch
A branch is a place your academy teaches in. Each branch has its own rooms, and groups are taught in those rooms.
Owners and admins can add branches. So can anyone whose role, under My Academy, has Branches set to Manage, as long as they work in all of the academy’s locations. Anyone else who can open the page, such as someone with Branches set to View, sees the buttons greyed out.
Add a branch
Section titled “Add a branch”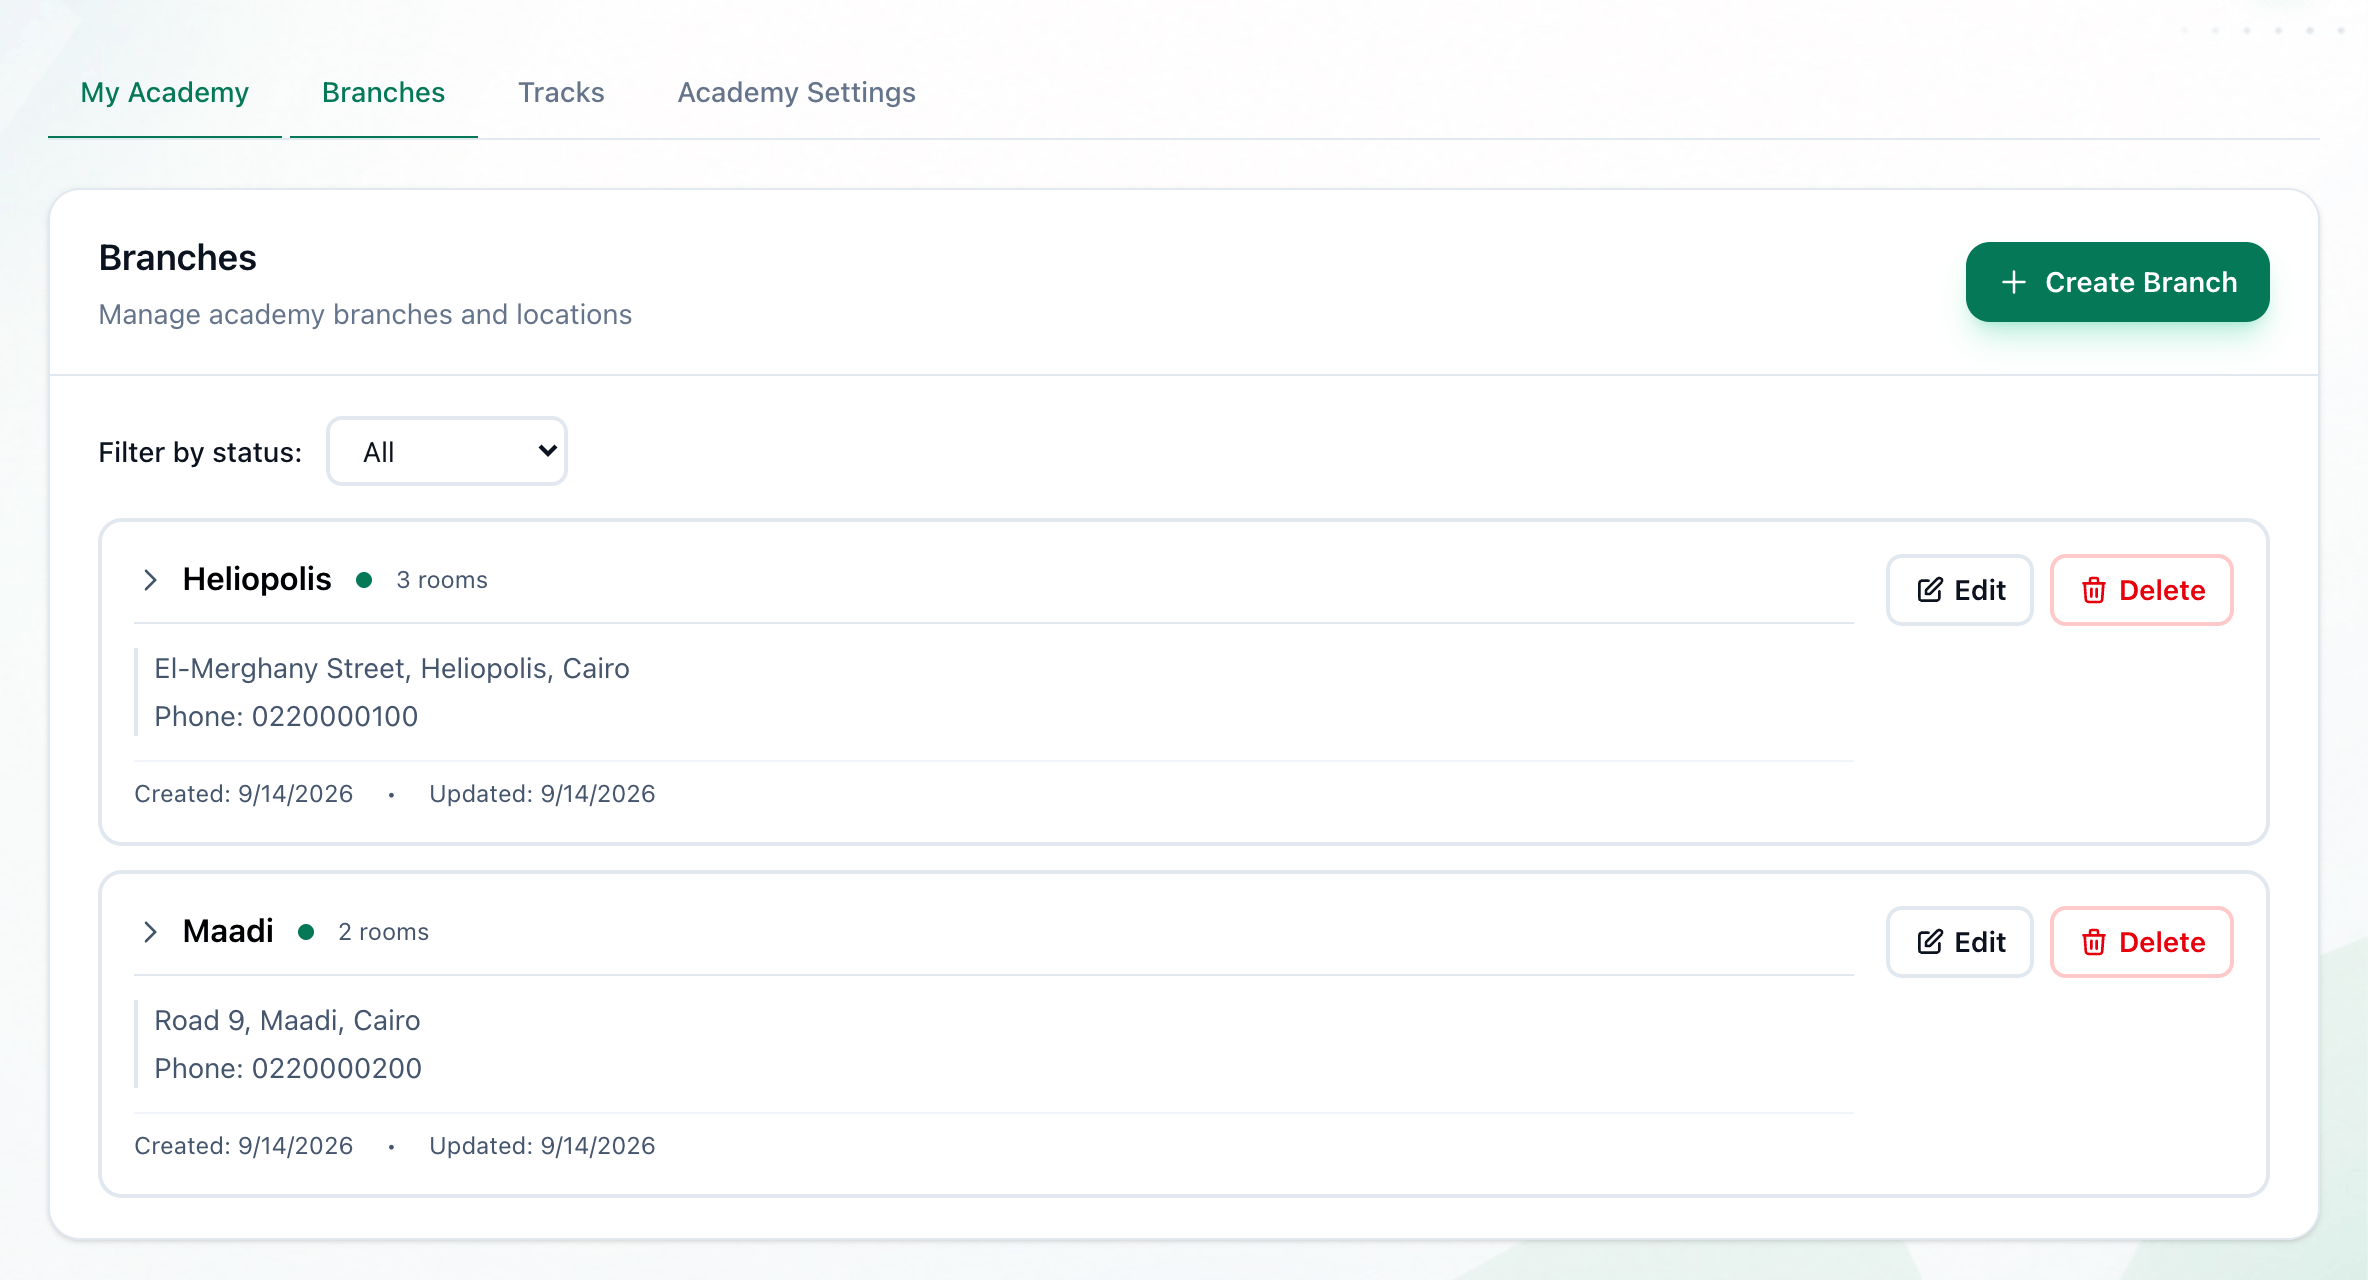
- Create Branch
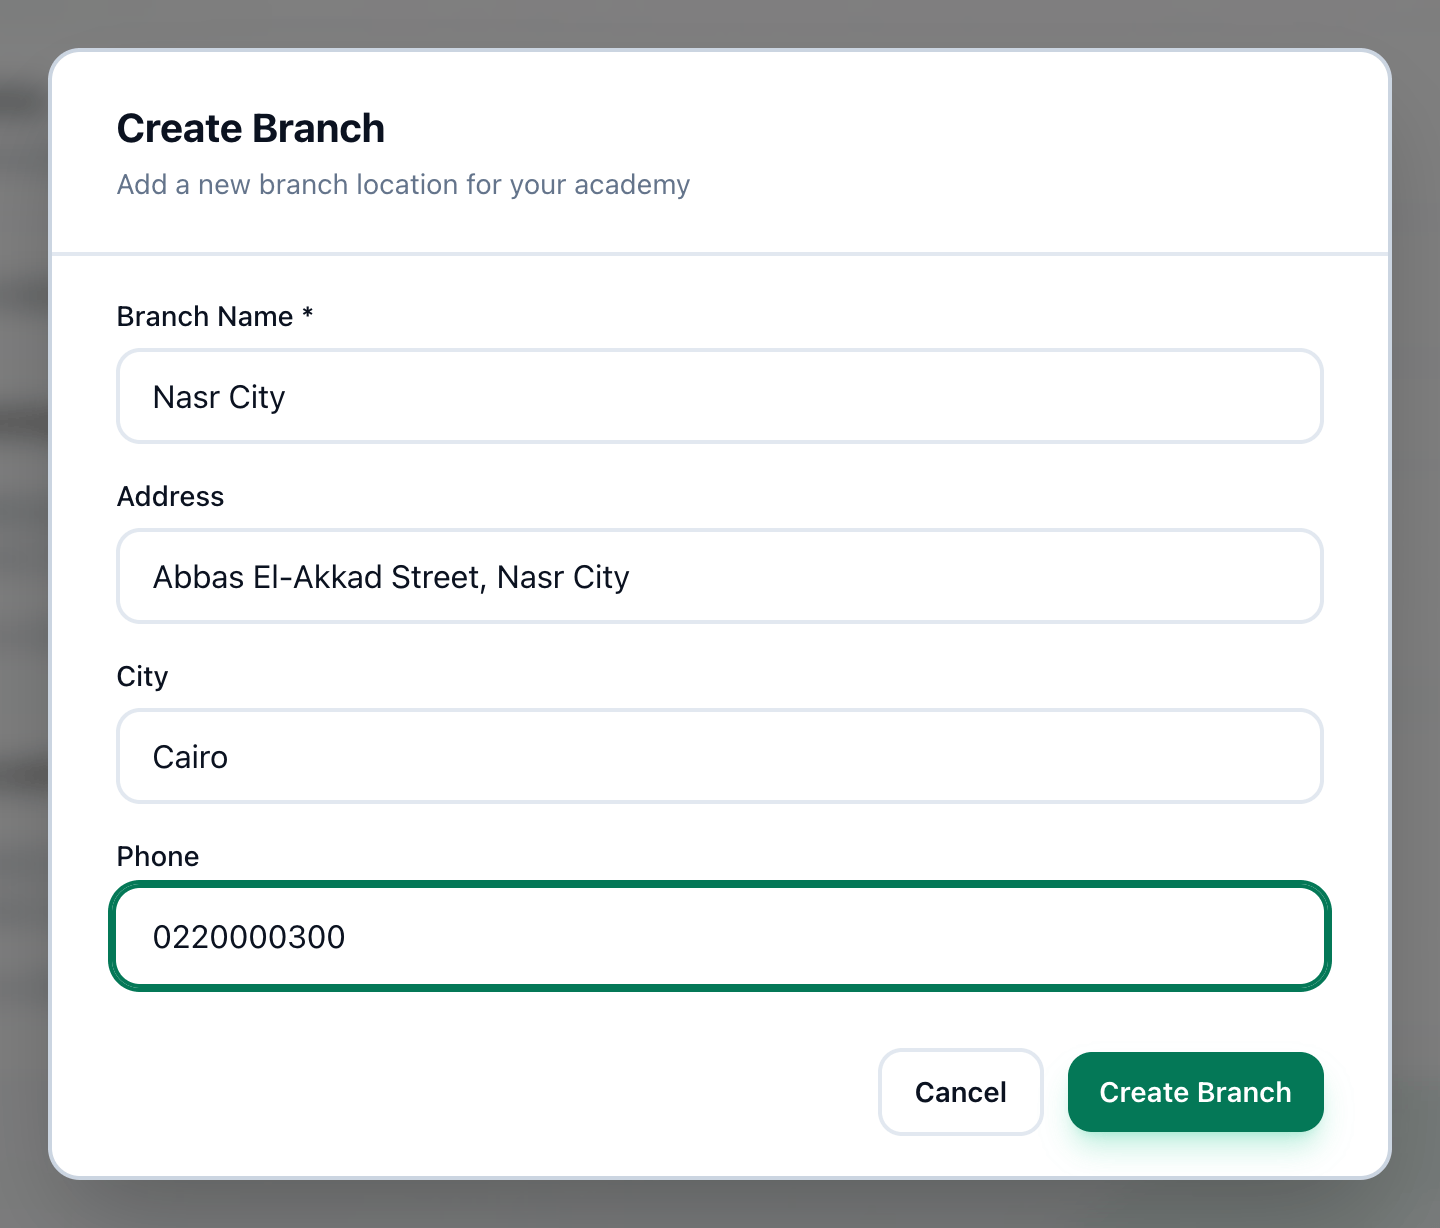
- Branch Name
- Address
- City
- Phone
- Create Branch
-
In Administration, open Branches and press Create Branch.
-
Enter the branch’s name in Branch Name. It is the only field you must fill in.
-
Enter its street address in Address.
-
Enter the city in City.
-
Enter the branch’s phone number in Phone.
-
Press Create Branch. The dialog closes and the branch appears in the list.
A new branch starts as active, with no rooms. Its green dot beside the name says it is active.
If something goes wrong
Section titled “If something goes wrong”Branch name is required shows inside the dialog. Other messages come from Tuevia’s server: the dialog stays open, and the message appears in red on the Branches page behind it, above the list.
-
Branch name is required
Branch Name is empty, or holds only spaces. -
invalid phone number format
Enter the number as digits, for example 0220000300. It may start with a + and have up to two spaces or hyphens between groups of digits. -
city cannot exceed 100 characters
Shorten the city. An address can be up to 1,000 characters.
What happens next
Section titled “What happens next”- Give the branch its rooms: Rooms.
- The branch is one of the choices in the location switcher at the top of the screen, for everyone who works in it. See The Online location.
- Decide who works in the branch in People, and open groups in its rooms in Teaching.